Chocolate

Chocolate, Breakfast, Dessert, Gluten Free, Snack

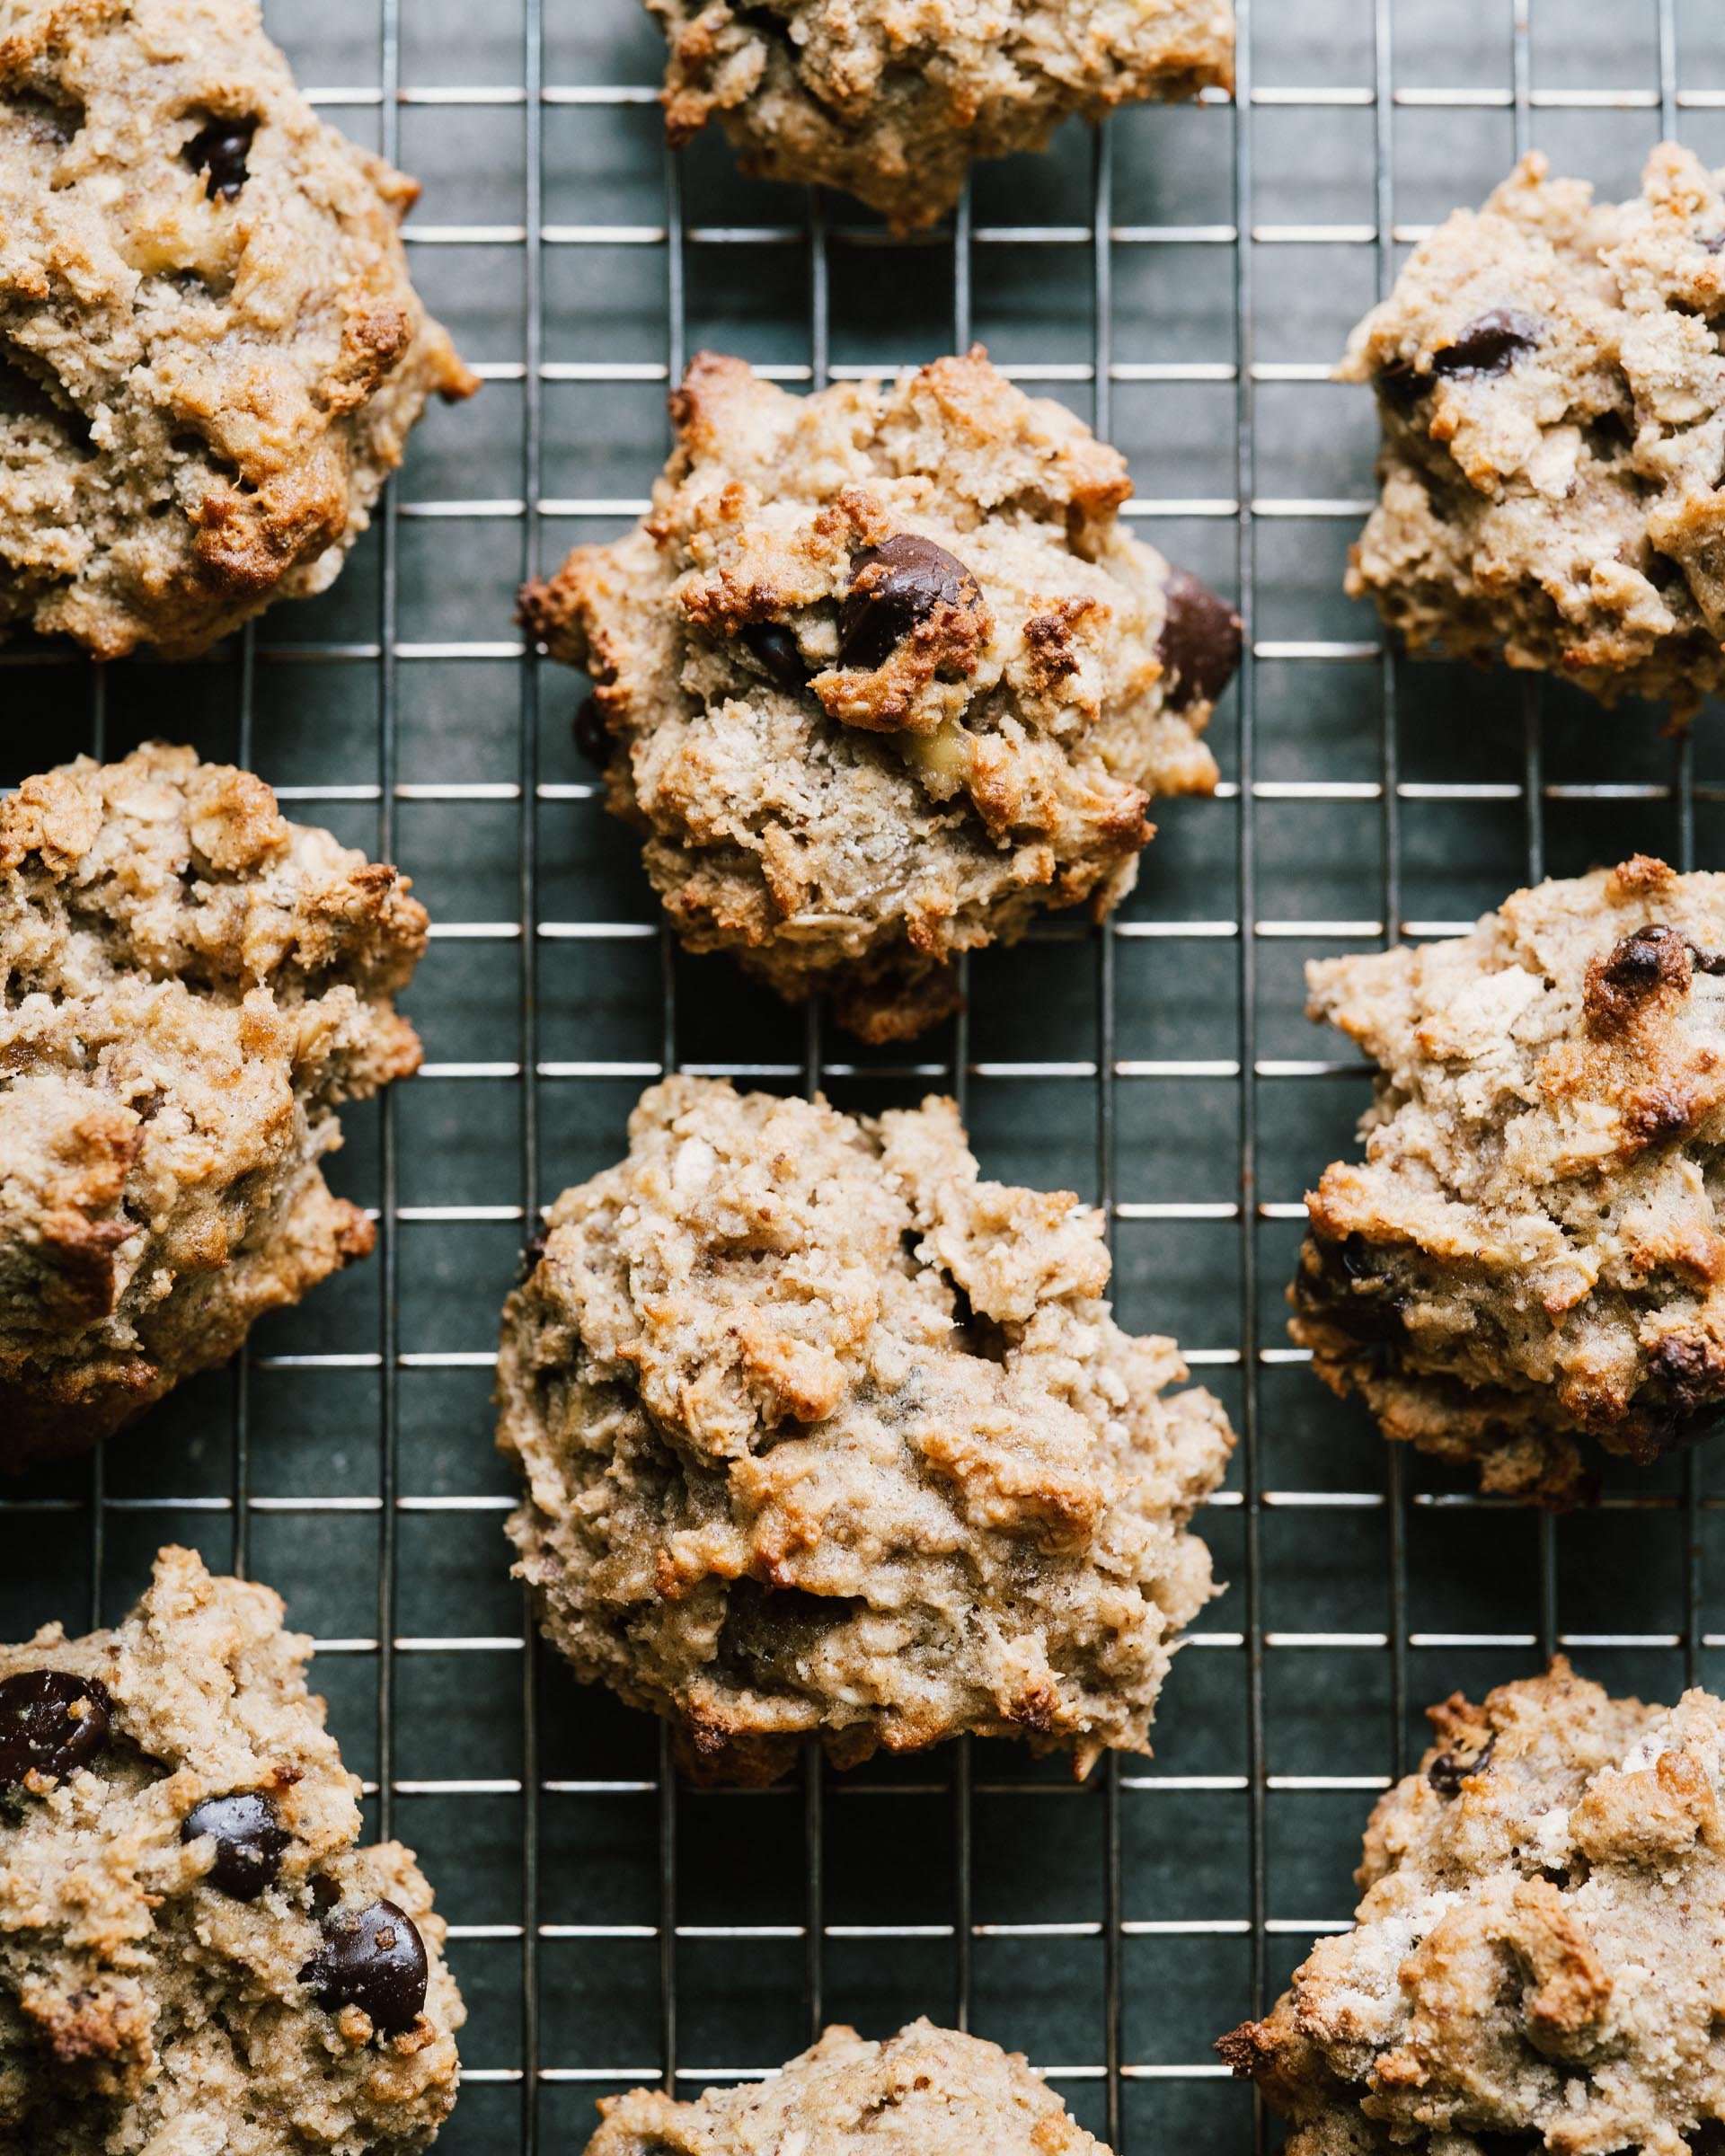
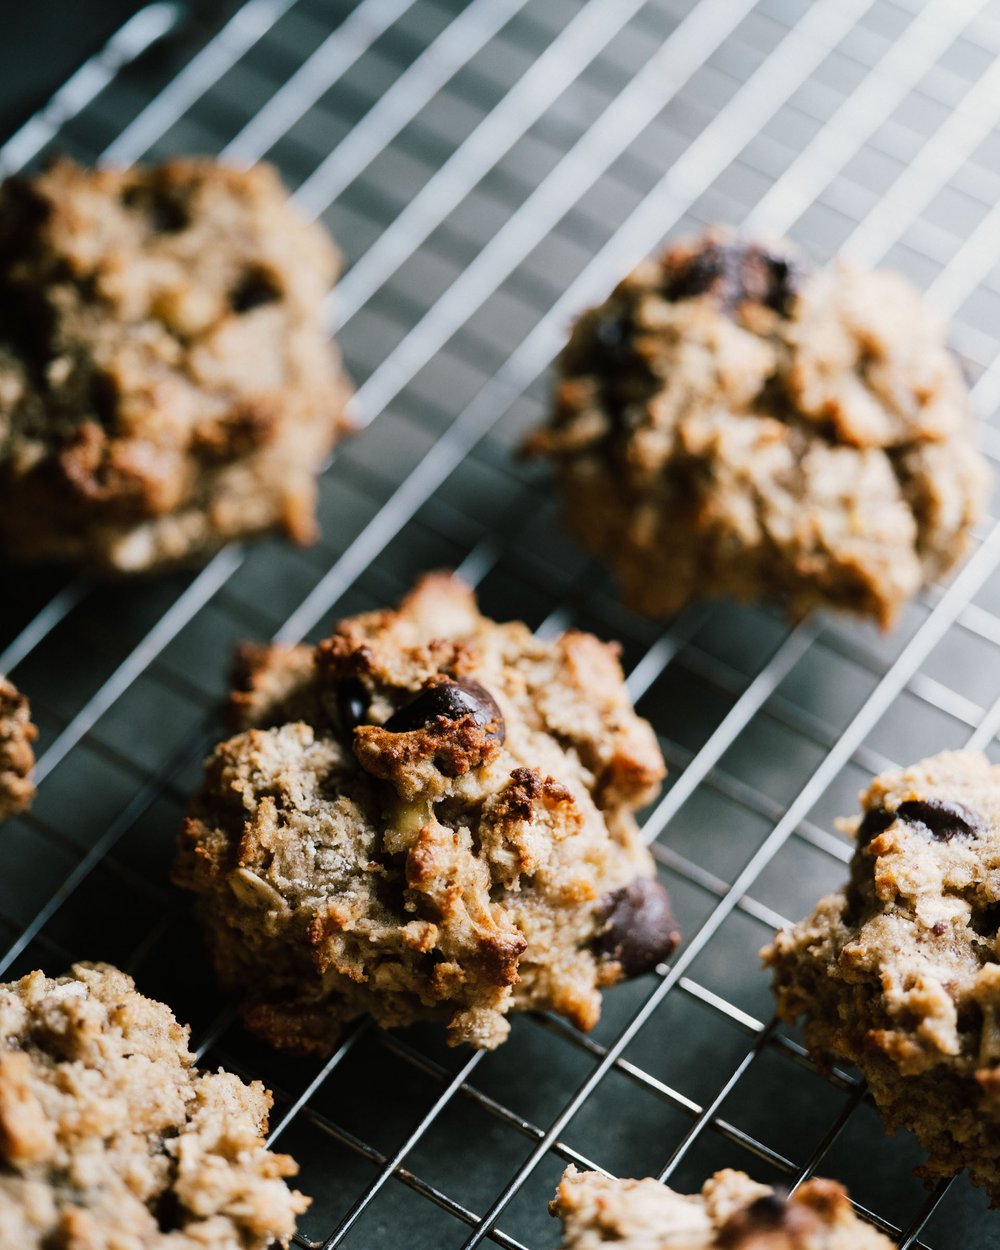
AFTER SCHOOL BANANA CHOCOLATE CHIP CHUNKERS

I always buy a bundle of bananas at the market, only 1 of 4 of us actually snacks on a banana, which leaves lots of moments of overripe bananas that are too ripe for snacking but perfect for baking. 4 of 4 like the baked goods with the bananas. You’re welcome for my elementary math equation proving it is in fact, worth buying the bananas.

These are my favorite sorts of treats to make for and with the kids. Everything mashes up in one bowl, they’re easy on the sugar, packs in a lunchbox and they are free of the glutens and dairy so any person that comes over with a dietary preference, has a snack. I know when we’ve made them a dozen times, they are worth sharing here, so hope you have bananas ready to go soon (extra extra brown! don’t bother if they are pretty and yellow!). xo

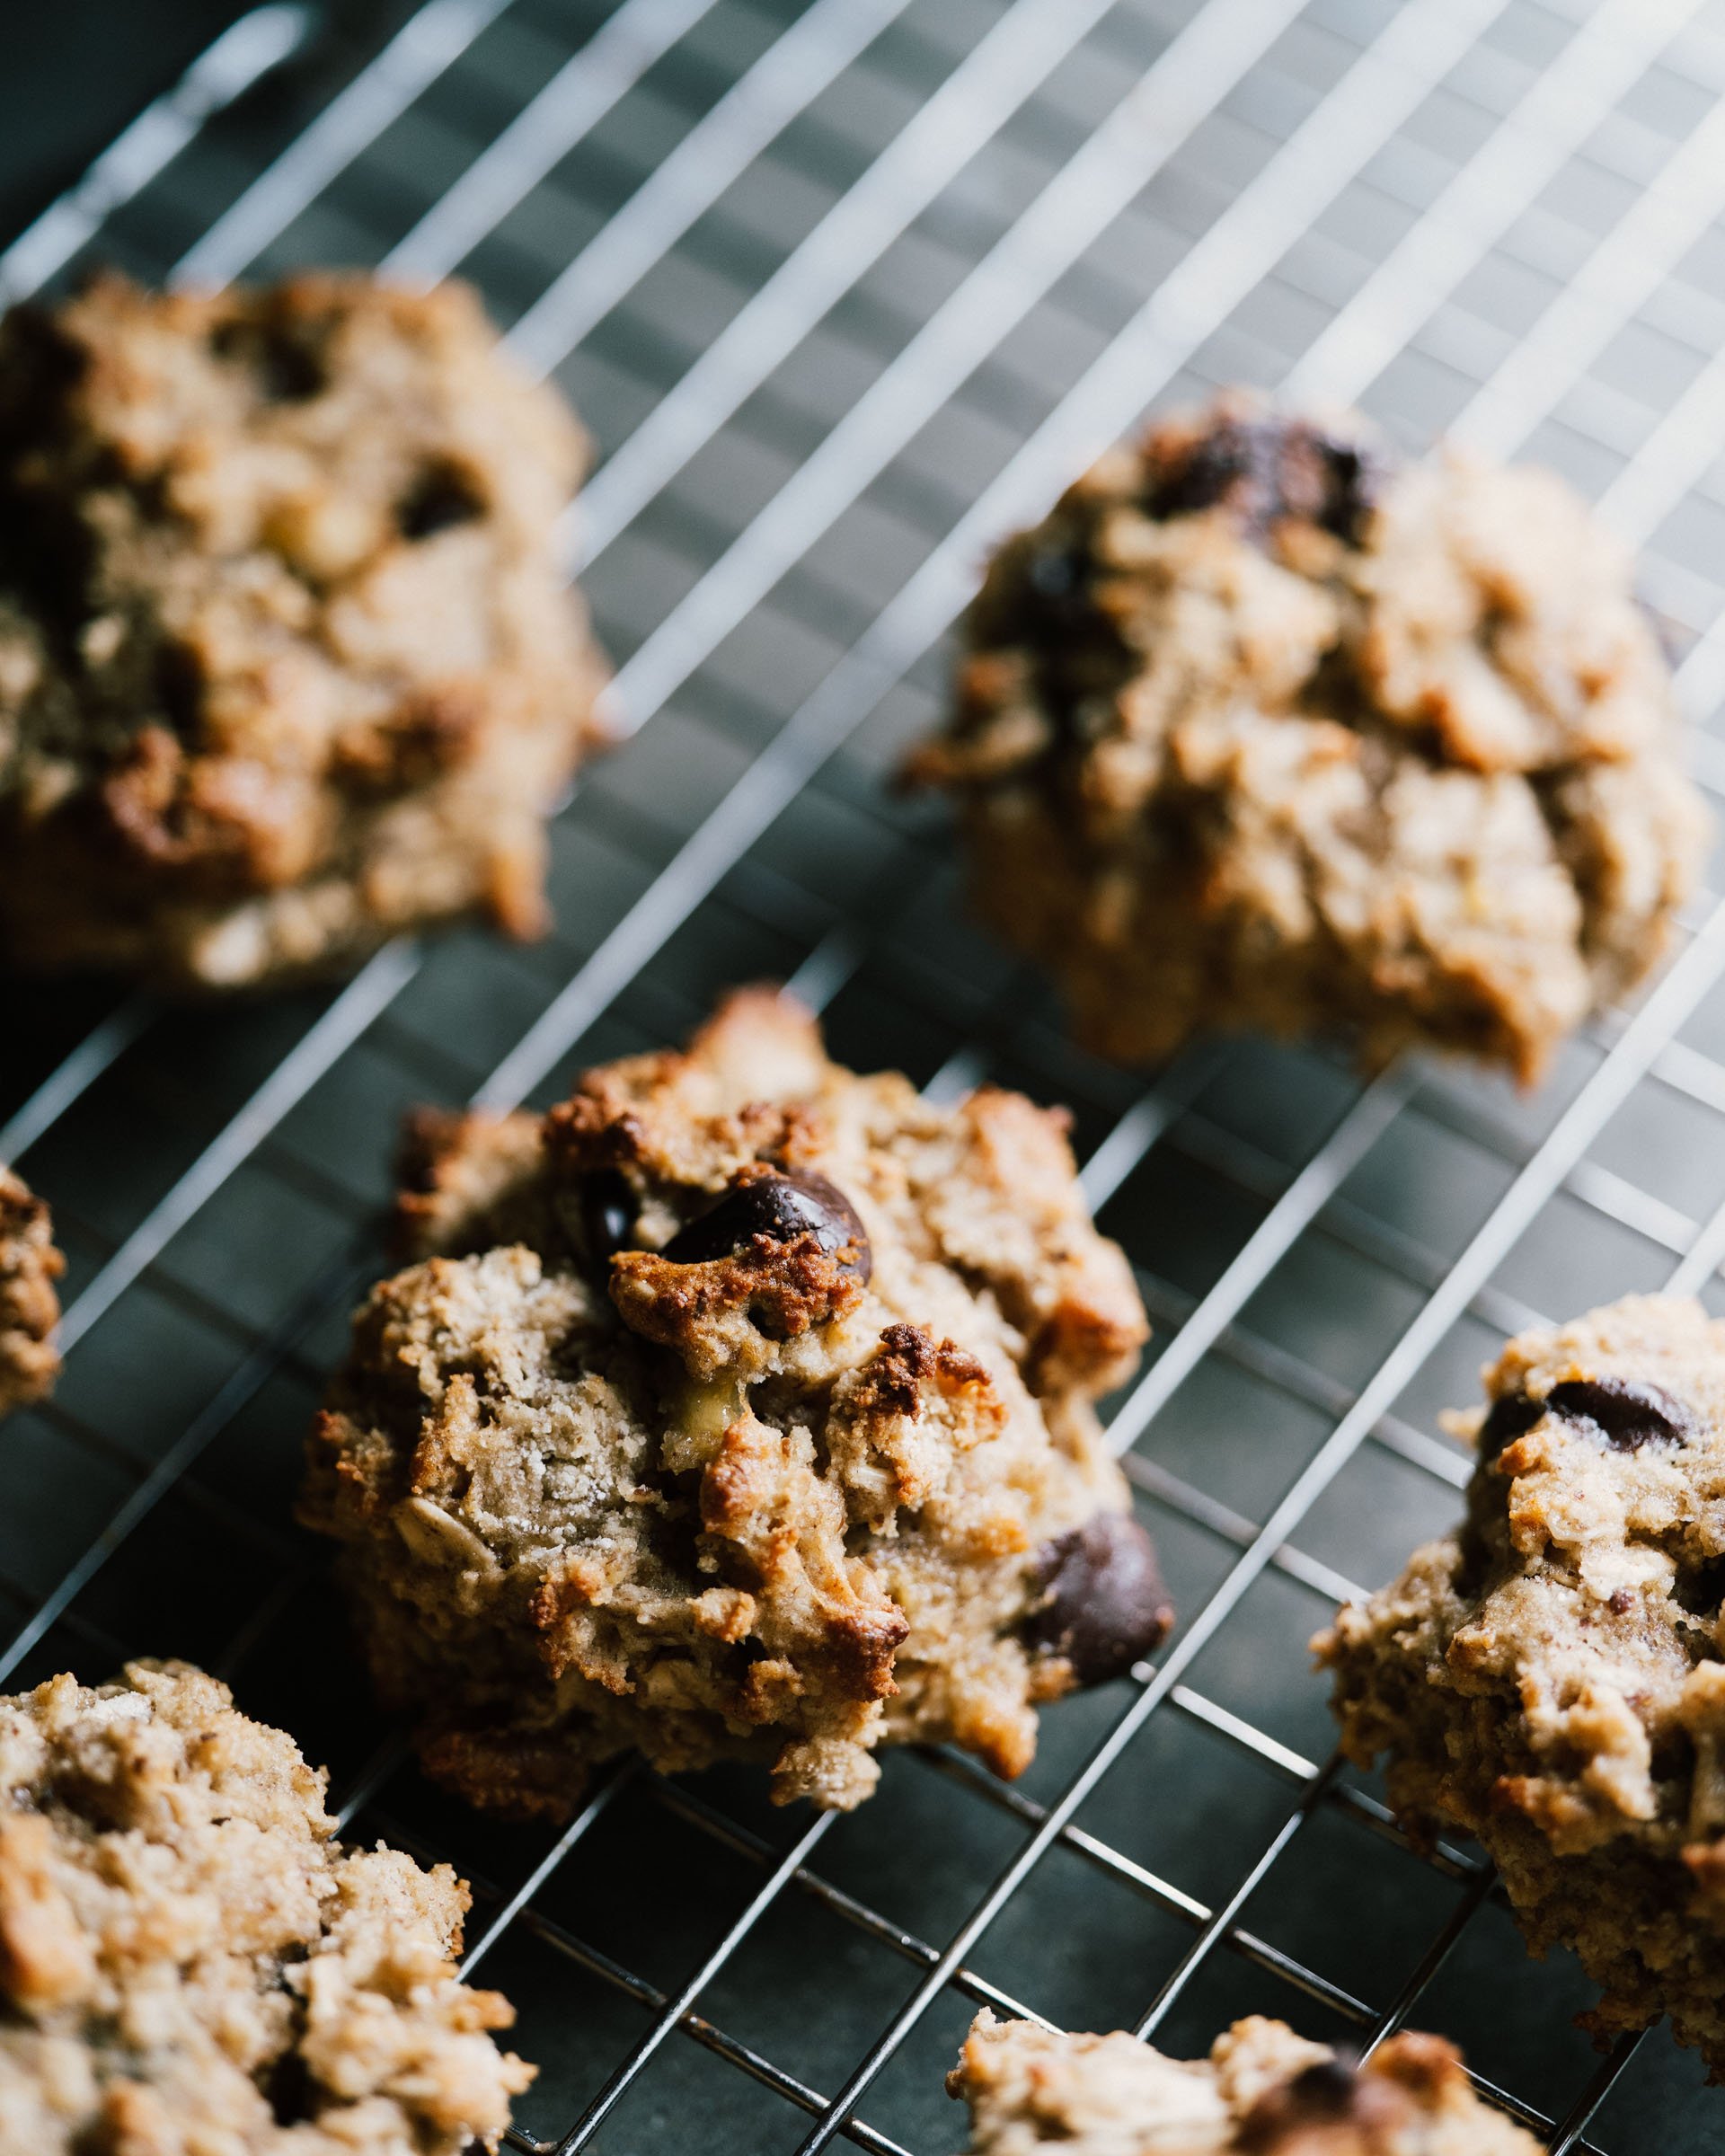
AFTER SCHOOL BANANA CHOCOLATE CHIP CHUNKERS

Makes 12

Gluten free, dairy free and honestly, you can skip the egg if you need to and I believe they’ll still hold. I’ve been making these when I have dead bananas, but banana bread feels like too much. A tray of these will be gone before the end of the day and they hold up in a lunch box too.

Nut allergy folks, all-purpose flour is fine. Replace the almond and coconut flours with 1 3/4 cups all-purpose flour. They will look different than what is pictured. The flax does help absorb some extra moisture, and you can pick that up and nearly any supermarket these days.

Recipe riffed from Joy the Baker

2 overripe, medium bananas (about 1 cup)
1 egg
4 Tbsp. coconut oil or warmed butter
1/3 cup light brown sugar
1 tsp. vanilla extract
1/2 tsp. cinnamon
big pinch of salt

1 cup almond flour
1/4 cup old fashioned oats
2 Tbsp. flax meal
3 Tbsp. coconut flour
1/4 tsp. baking soda
1/2 tsp. baking powder

2/3 cup dark chocolate chips (or chopped chocolate)

Into a mixing bowl, smash up the bananas super well, we don’t want big chunks left. Add in the egg, oil or butter, sugar, vanilla , cinnamon, salt and whisk everything together to mix. Add the almond flour, oats, flax, coconut flour, baking powder and stir again to combine. Fold in the chocolate chips. Chill the mixture for at least 30 minutes.

Preheat the oven to 360’ and line a rimmed baking sheet with parchment. I make ours free-formed, not perfect balls 1) because they are tough to get into a ball and 2) I like those craggle edges! We want about 2-3 Tbsp. sized lumps, arranged with 2” of space between (they don’t spread much). Bake on the middle rack for 12-15 minutes until toasty on the edges, but still tender in the center. Remove to cool.

Keep the cookies in a covered container at room temperature for up for 3 days, and in the fridge any longer than that.

Print This Recipe

Chocolate, Dessert, Fall, Gluten Free, Snack, Winter

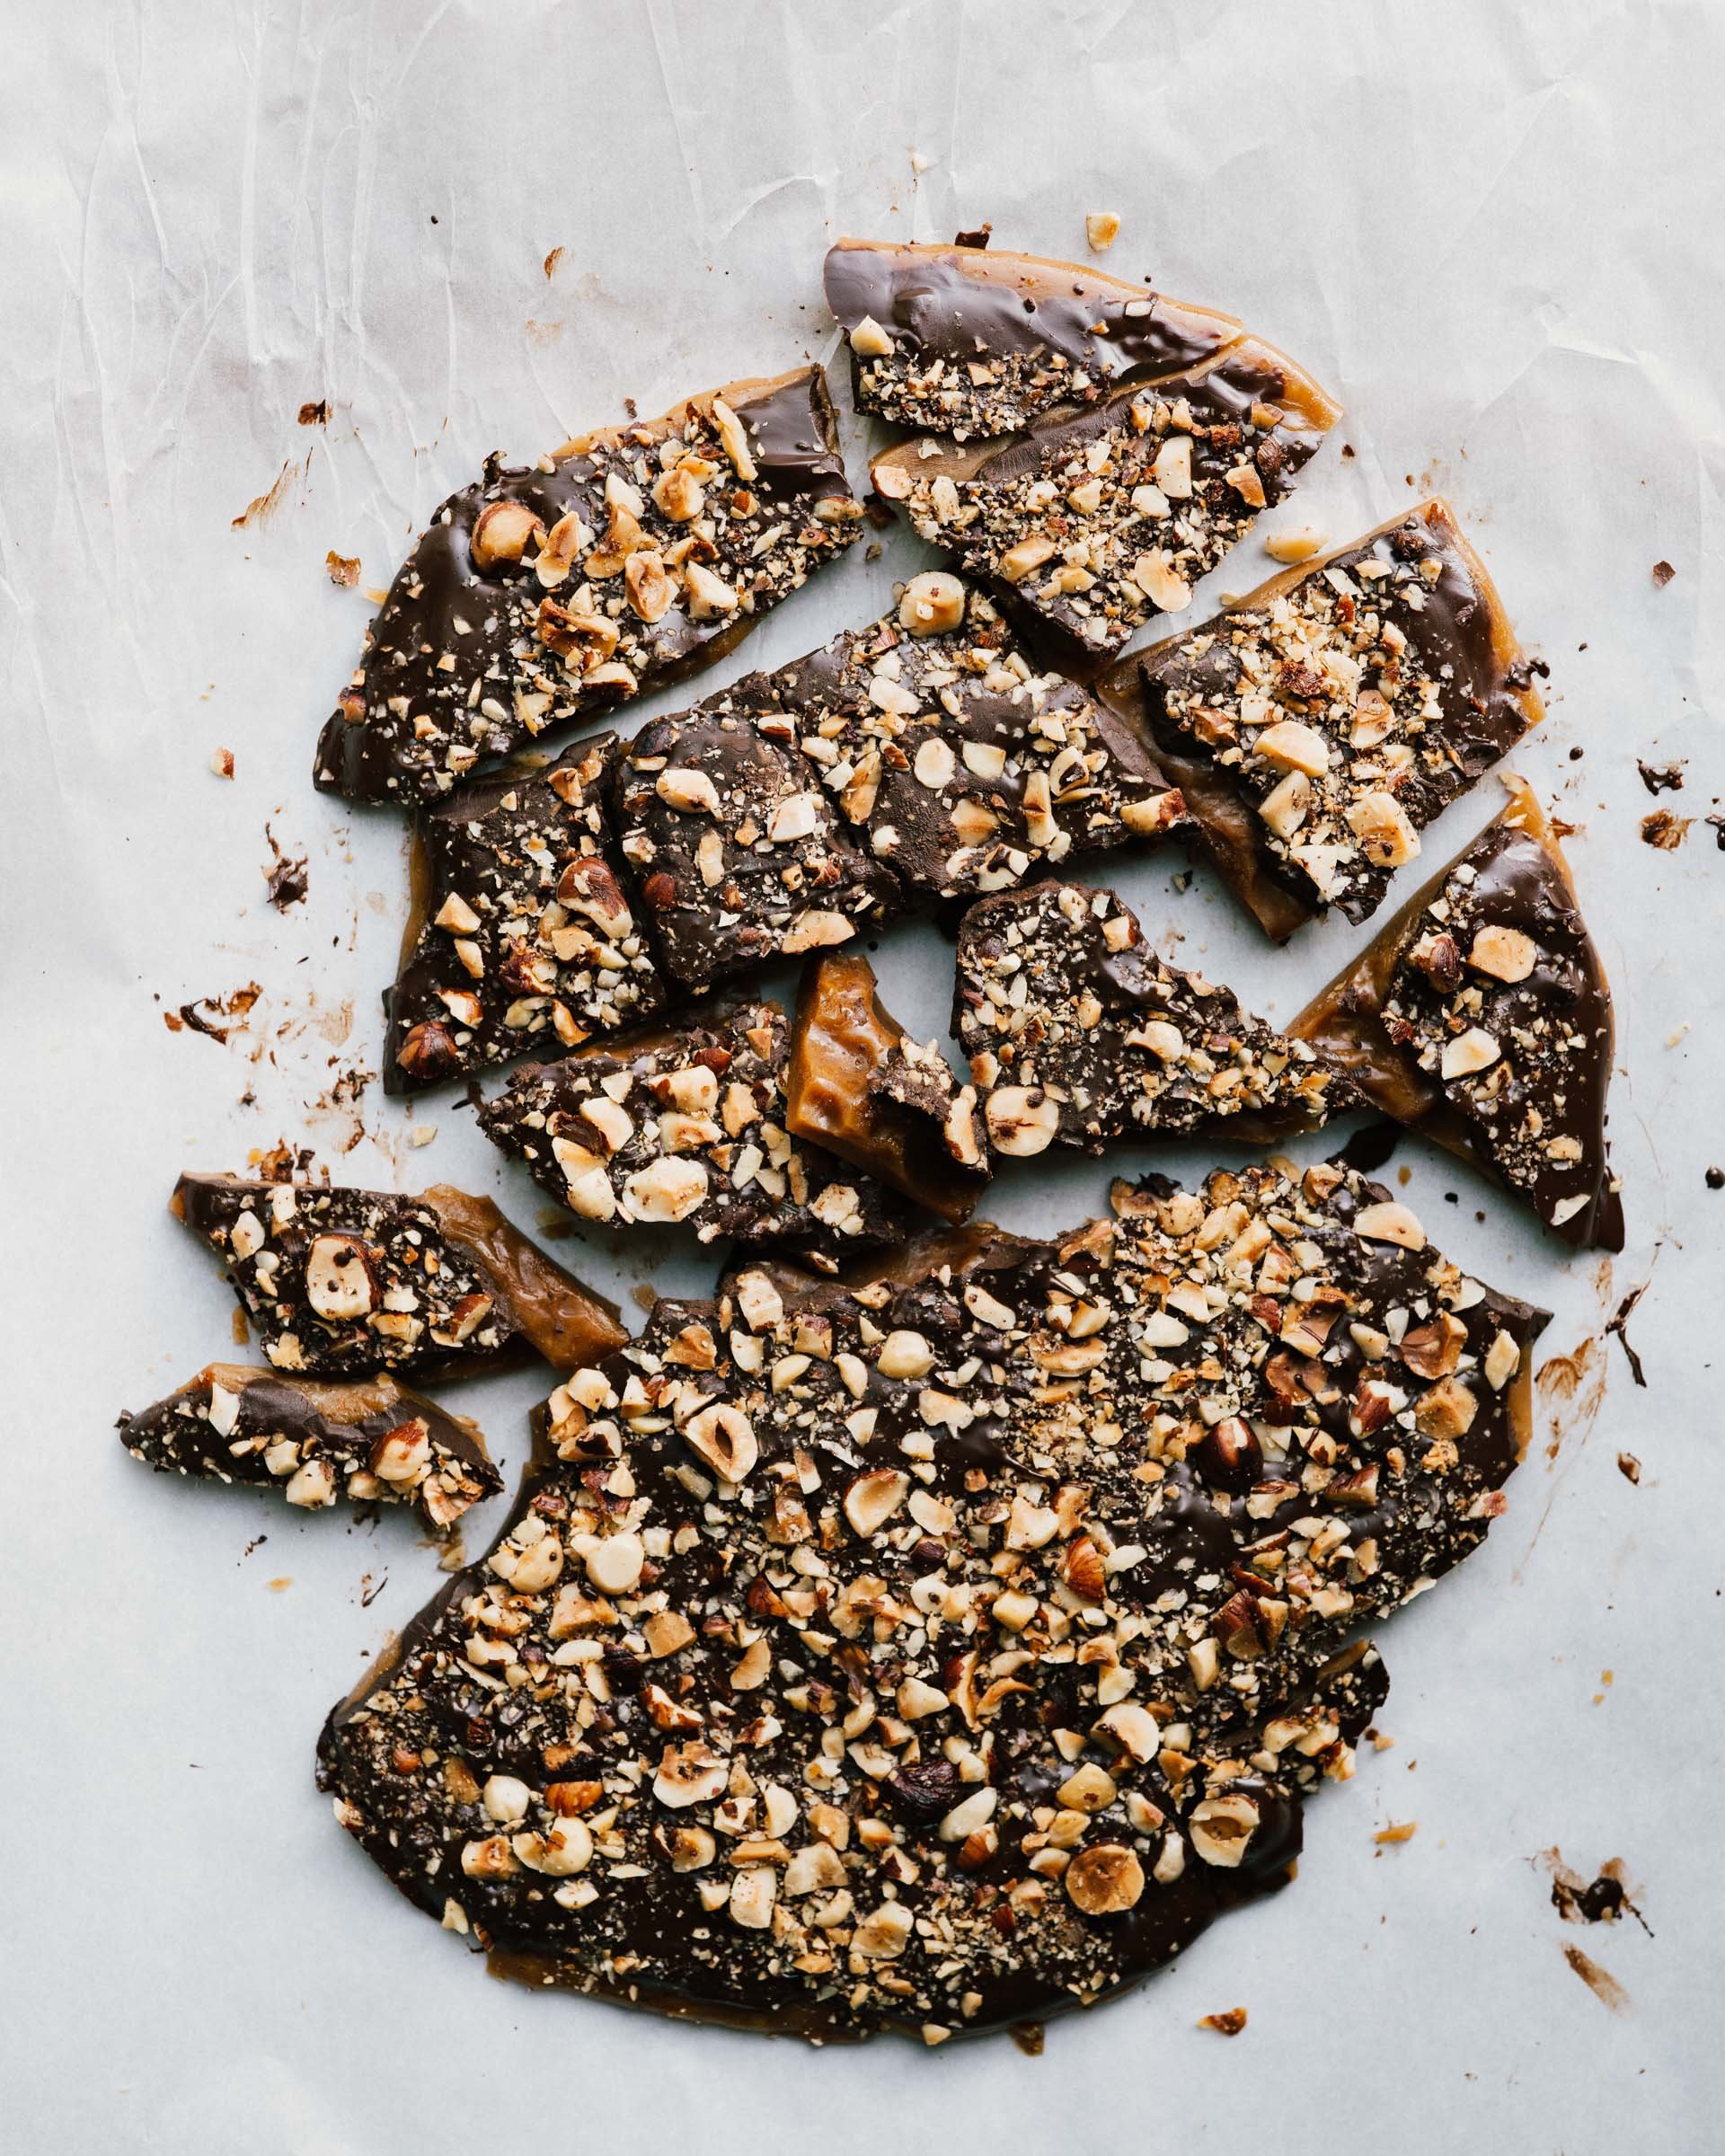
CHOCOLATE-HAZELNUT TOFFEE

It has been a busy cookbook season! I spent last night reading through the Ottolenghi Test Kitchen Cookbook and am revisiting everything I have bookmarked in Aran’s Cannelle et Vanille Bakes Simple while it is rainy this week and we can work on some baking projects. If you eat gluten free, by need or choice, Aran is your gal. You may know her from her gf sourdough tutorials on instagram.

Aran is one of my favorite food people. Most importantly, she is a lovely and generous person. Just as humble and charming as her photos lead you to believe. Her photos are romantic, the recipes are clear and uncomplicated and she offers subs for all sorts of dietary issues. She is the gluten free baking master, and always where I go for reference. The book does call for some specialty flours, but if you cook gluten free and make a few things from her book, they won’t go to waste. My favorites have been the Lemon Curd, Lemon Pound Cake, Double Chocolate Crinkle Cookies and this toffee! I love how short the list of ingredients is, you may even have everything to make a batch today.

Congrats, Aran!

CHOCOLATE-HAZELNUT TOFFEE

Makes one 9x13 pan

This makes an excellent gift around the holidays. We kept it in the fridge for when you just need a sweet nibble after a meal. If you are nut free, you can sub in some candied pepitas or some crushed candy canes and cocoa nibs on top.

Ingredients: 

¾ cup (100 g ) raw hazelnuts

1 cup unsalted butter (or dairy free butter) cut into cubes

¾ cup sugar

½ cup light brown sugar

¼ cup water, room temperature

½ tsp. Kosher salt

2 tsp. Vanilla extract

¼ tsp baking soda

4 ounces 70% chocolate, finely chopped


Instructions: 

Preheat the oven to 325’ and line a large rimmed baking sheet with parchment paper. 

On a second sheet, spread the hazelnuts and roast for 15-20 minutes, until fragrant and golden brown. When they are cool enough to handle, transfer them to a large kitchen towel and rub together to loosen their skins. Once they’re mostly peeled (a bit of skin is ok), transfer them to a food processor and pulse a few times to roughly chop. Set aside. 

In a medium saucepan, stir together the butter, both sugar, water and salt. Cook over medium-high heat, undisturbed, until it registers at 300’, about 15 minutes. The mixture will be dark brown and smell caramelized. Remove the pan from the heat and carefully add the vanilla, it will splatter. Stir in the baking soda until it is distributed - do not overmix. You want to preserve some of that gas. 

Pour the toffee onto the prepared baking sheet and spread it evenly with a spatula. Sprinkle the top with the chopped chocolate. The heat of the toffee will melt it. Spread it evenly with a spatula. Distribute the chopped hazelnuts across the top and press down so they stick into the chocolate. 

Let the toffee cool completely for a few hours, or speed up this process in the fridge. Break the toffee into pieces and store in an airtight container for up to a month.

©2021 by Aran Goyoaga. Excerpted from Cannelle et Vanille Bakes Simple by permission of Sasquatch Books.

Print This Recipe

Chocolate, Dessert, Gluten Free, Snack

PEANUT BUTTER CHOCOLATE SHORTBREAD BARS

week-83-22.jpg

One of our dinner questions has been to call out three specific things that made you happy that day. We’ve had that going prior to the quarantine, but it’s been even more important this past week. Sometimes we draw pictures of the things, which is actually even more entertaining if you have small children. They kids’ answers have ranged from “lunch” to “rough housing” to “riding bikes with neighbor friends” (not touching of course, don’t worry). Curran was building a zip line for his toy in the backyard today and in his excitement, just yelled “this is making me happy right now!” That is the fruit of asking the question - how aware it is making each of us. In this slower, moment by moment pace with my family, I feel like I am getting a chance to see much more than I ever do when I am full charge ahead at all times.

As many of you, finding our way through all of this is challenging, scary, devastating for so many industries and individuals and doing so with kids is an added layer. I find that naming the happy things is a different practice than gratitude, though I’m sure you agree both have great effects on mental health. It helps me to think back on the day - to pay attention to my actual happiness when the default is fear and scarcity. It resets to positive… maybe you even find ways to chase the things you hear yourself name.

Yesterday: It made me happy to hear my kids wrestling and giggling upstairs with each other. I am so happy that our neighborhood has areas to bike, and that there have been breaks in the rain so the kids can move. All the funny memes online have made me laugh. I am happy that the kids like writing notes and dropping them to neighbors or pop them in the mail, hopefully passing the happy along. You get the idea. Look for it, it is there, and I am so sorry for those of you who are having a really hard time with that for a plethora of reasons right now.

Despite the current circumstances of being shut away from all our social connections, which are a huge priority for us as a family, I have been impressed by how well my people did this past week. My kids are getting along and pulling out toys that they used to ignore. I have a hard time even writing that here, as I know peoples’ lives are being destroyed by the pandemic going on around the world. I have chosen to take it day at a time over here and so my own experience is what I have to share. One week in I have learned that I can only take in enough news to be smart but there is a tipping point to being overwhelmed. What a blessing that our business is online - good grief. It is my responsibility to be a steward of that circumstance. That said, I will be trying to share more content here, that may be helpful for you. Our family is supported by our work over on SK Cooking Club, but I hope to share some of the favorited recipes here too, while so many of us are cooking at home.

I wish you all wellness, and hope to stay in touch.


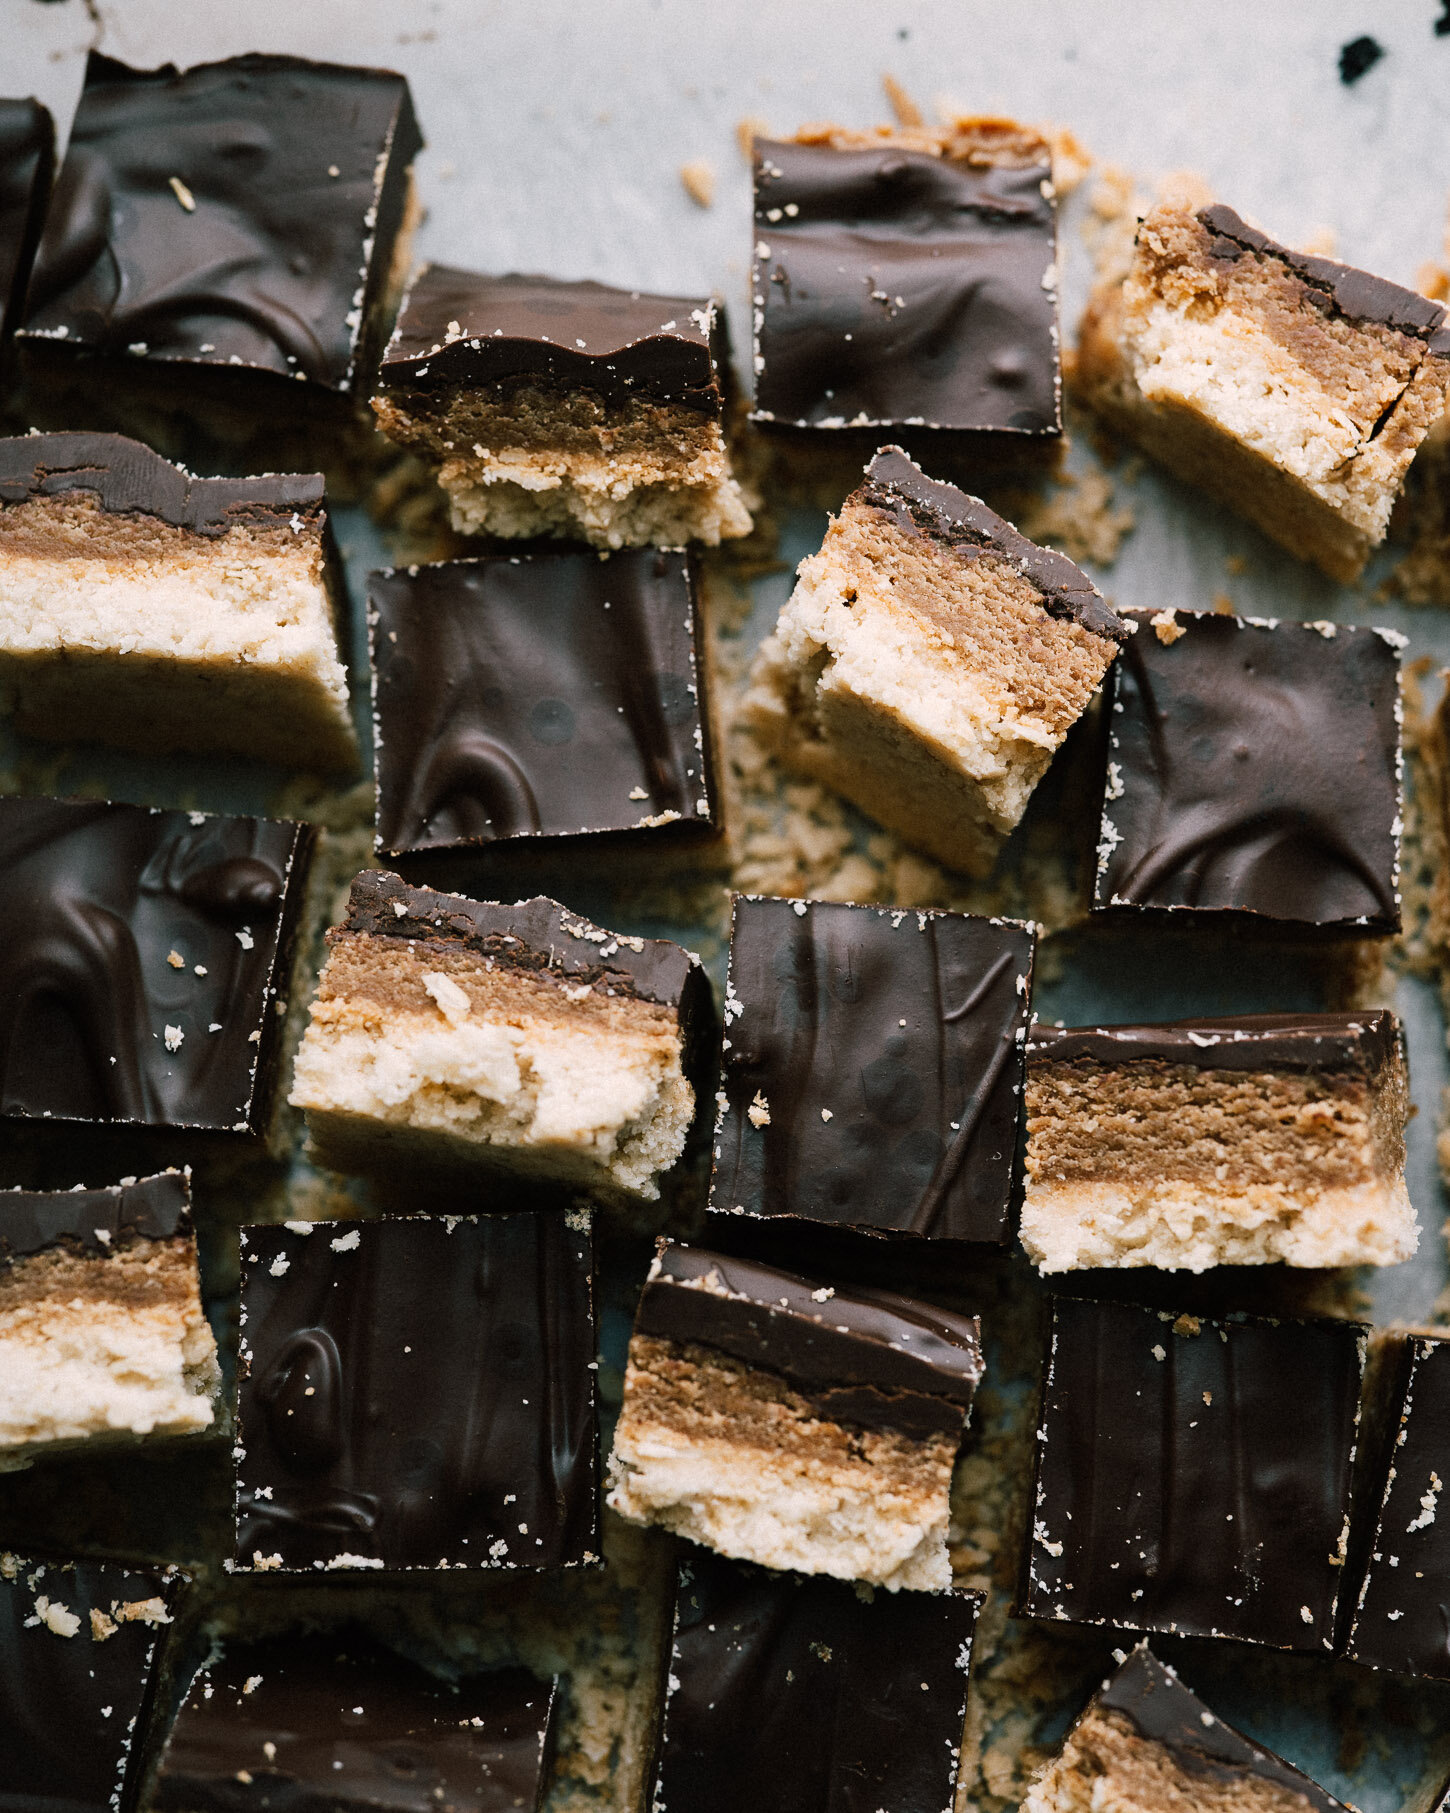
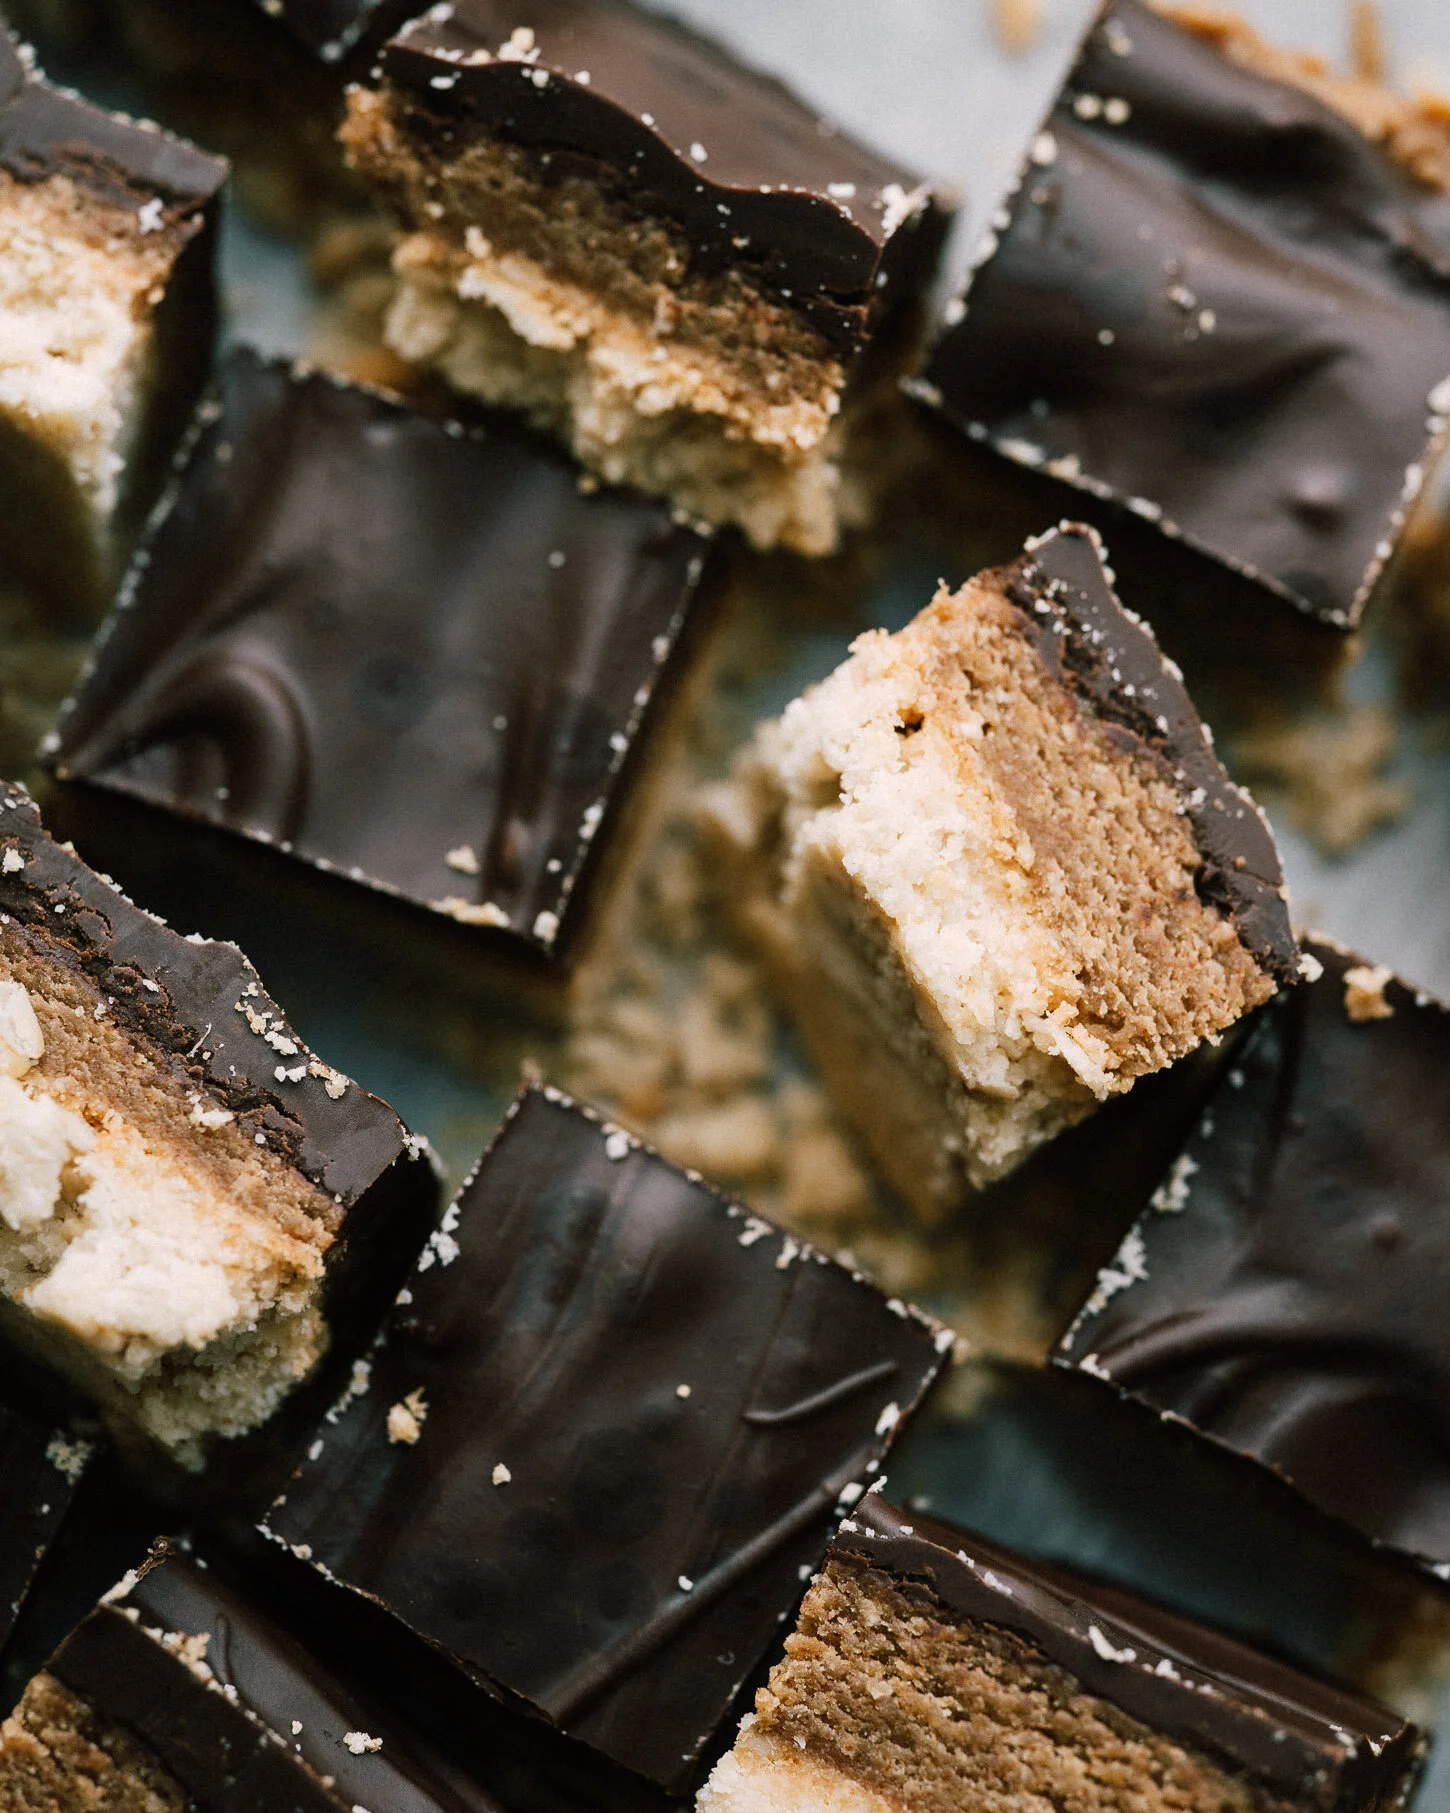
PEANUT BUTTER CHOCOLATE SHORTBREAD BARS

16 small squares

I have not tested these with all-purpose flour, though I’d guess they work. I would replace the almond and coconut flours with 1 1/4 cup all-purpose at a guess, but again, I haven’t tested that. All of these ingredients are also in my Thrive box if you are not a member yet (That link gets you a 30-day free trial and 25% off. I know they are having shipping delays at the moment, but a wonderful resource regardless).
If you have a peanut allergy, any nut or seed butter will work! Just pay attention to the consistency - we want it thick but spreadable - it needs to hold structure when you cut them. We need spreadable, but not a runny mess, but you can fix this no matter what kind of nut butter you buy. Once you add the maple, the nut butter should seize it a bit, especially if you start with a runny nut butter. Note it will firm up a bit in the fridge, but you need it to hold shape, so if your nut butter layer is extra runny, stir in a bit of coconut flour to help firm it up. Too firm to spread? Whisk in a splash of hot water.

Ingredients

for the CRUST

1/2 cup coconut flour
1/2 cup almond flour
1/2 cup oats
1/3 cup coconut oil or butter, barely warmed (think body temp)
2 Tbsp. maple syrup
1 tsp. vanilla extract
Pinch of salt

NUT BUTTER LAYER

1 cup favorite natural nut butter
3 Tbsp. maple syrup

CHOCOLATE LAYER

7 oz. chocolate, chopped
2 Tbsp. coconut oil or coconut butter (or even heavy cream!)
Flaky salt, to finish

Instructions

Line an 8” square dish with parchment paper for easy removal. Preheat the oven to 325’.

In a food processor, combine the coconut flour, almond flour, oats, coconut oil, maple, vanilla and salt and pulse a few times to combine. Don’t overdo it, just a few pulses. It should stick together when you press your fingers together. Press the shortbread layer into the bottom of the pan, getting an even layer all the way to the edges. Bake on the middle rack for 15-17 minutes until just toasty on top. Remove to cool. 

In another bowl, stir together the nut butter and maple. The sweetener may make it seize a bit and that’s ok, we need it to be spreadable but firm. You can stir in a splash of hot water and stir it in if you can’t get the mixture to move. If it’s too runny, a sprinkle of coconut flour will also firm it up.

Over the cooled shortbread, spread the nut butter layer. Pop that in the fridge while you make the chocolate.

In a glass bowl over simmering water (double boiler method), add the roughly chopped chocolate and coconut oil. Stir until melted. Spread the chocolate over the nut butter layer. Let it cool down in the fridge for 15, then sprinkle the flaky salt over the top, and pop the whole situation in the fridge to chill for at least 30 minutes. 

Remove the parchment sling and chop the bars into small squares. They’ll crumble a bit. They will keep stored in the fridge for up to two weeks. 

week-83-20.jpg

Print This Recipe