
I always buy a bundle of bananas at the market, only 1 of 4 of us actually snacks on a banana, which leaves lots of moments of overripe bananas that are too ripe for snacking but perfect for baking. 4 of 4 like the baked goods with the bananas. You’re welcome for my elementary math equation proving it is in fact, worth buying the bananas.
These are my favorite sorts of treats to make for and with the kids. Everything mashes up in one bowl, they’re easy on the sugar, packs in a lunchbox and they are free of the glutens and dairy so any person that comes over with a dietary preference, has a snack. I know when we’ve made them a dozen times, they are worth sharing here, so hope you have bananas ready to go soon (extra extra brown! don’t bother if they are pretty and yellow!). xo
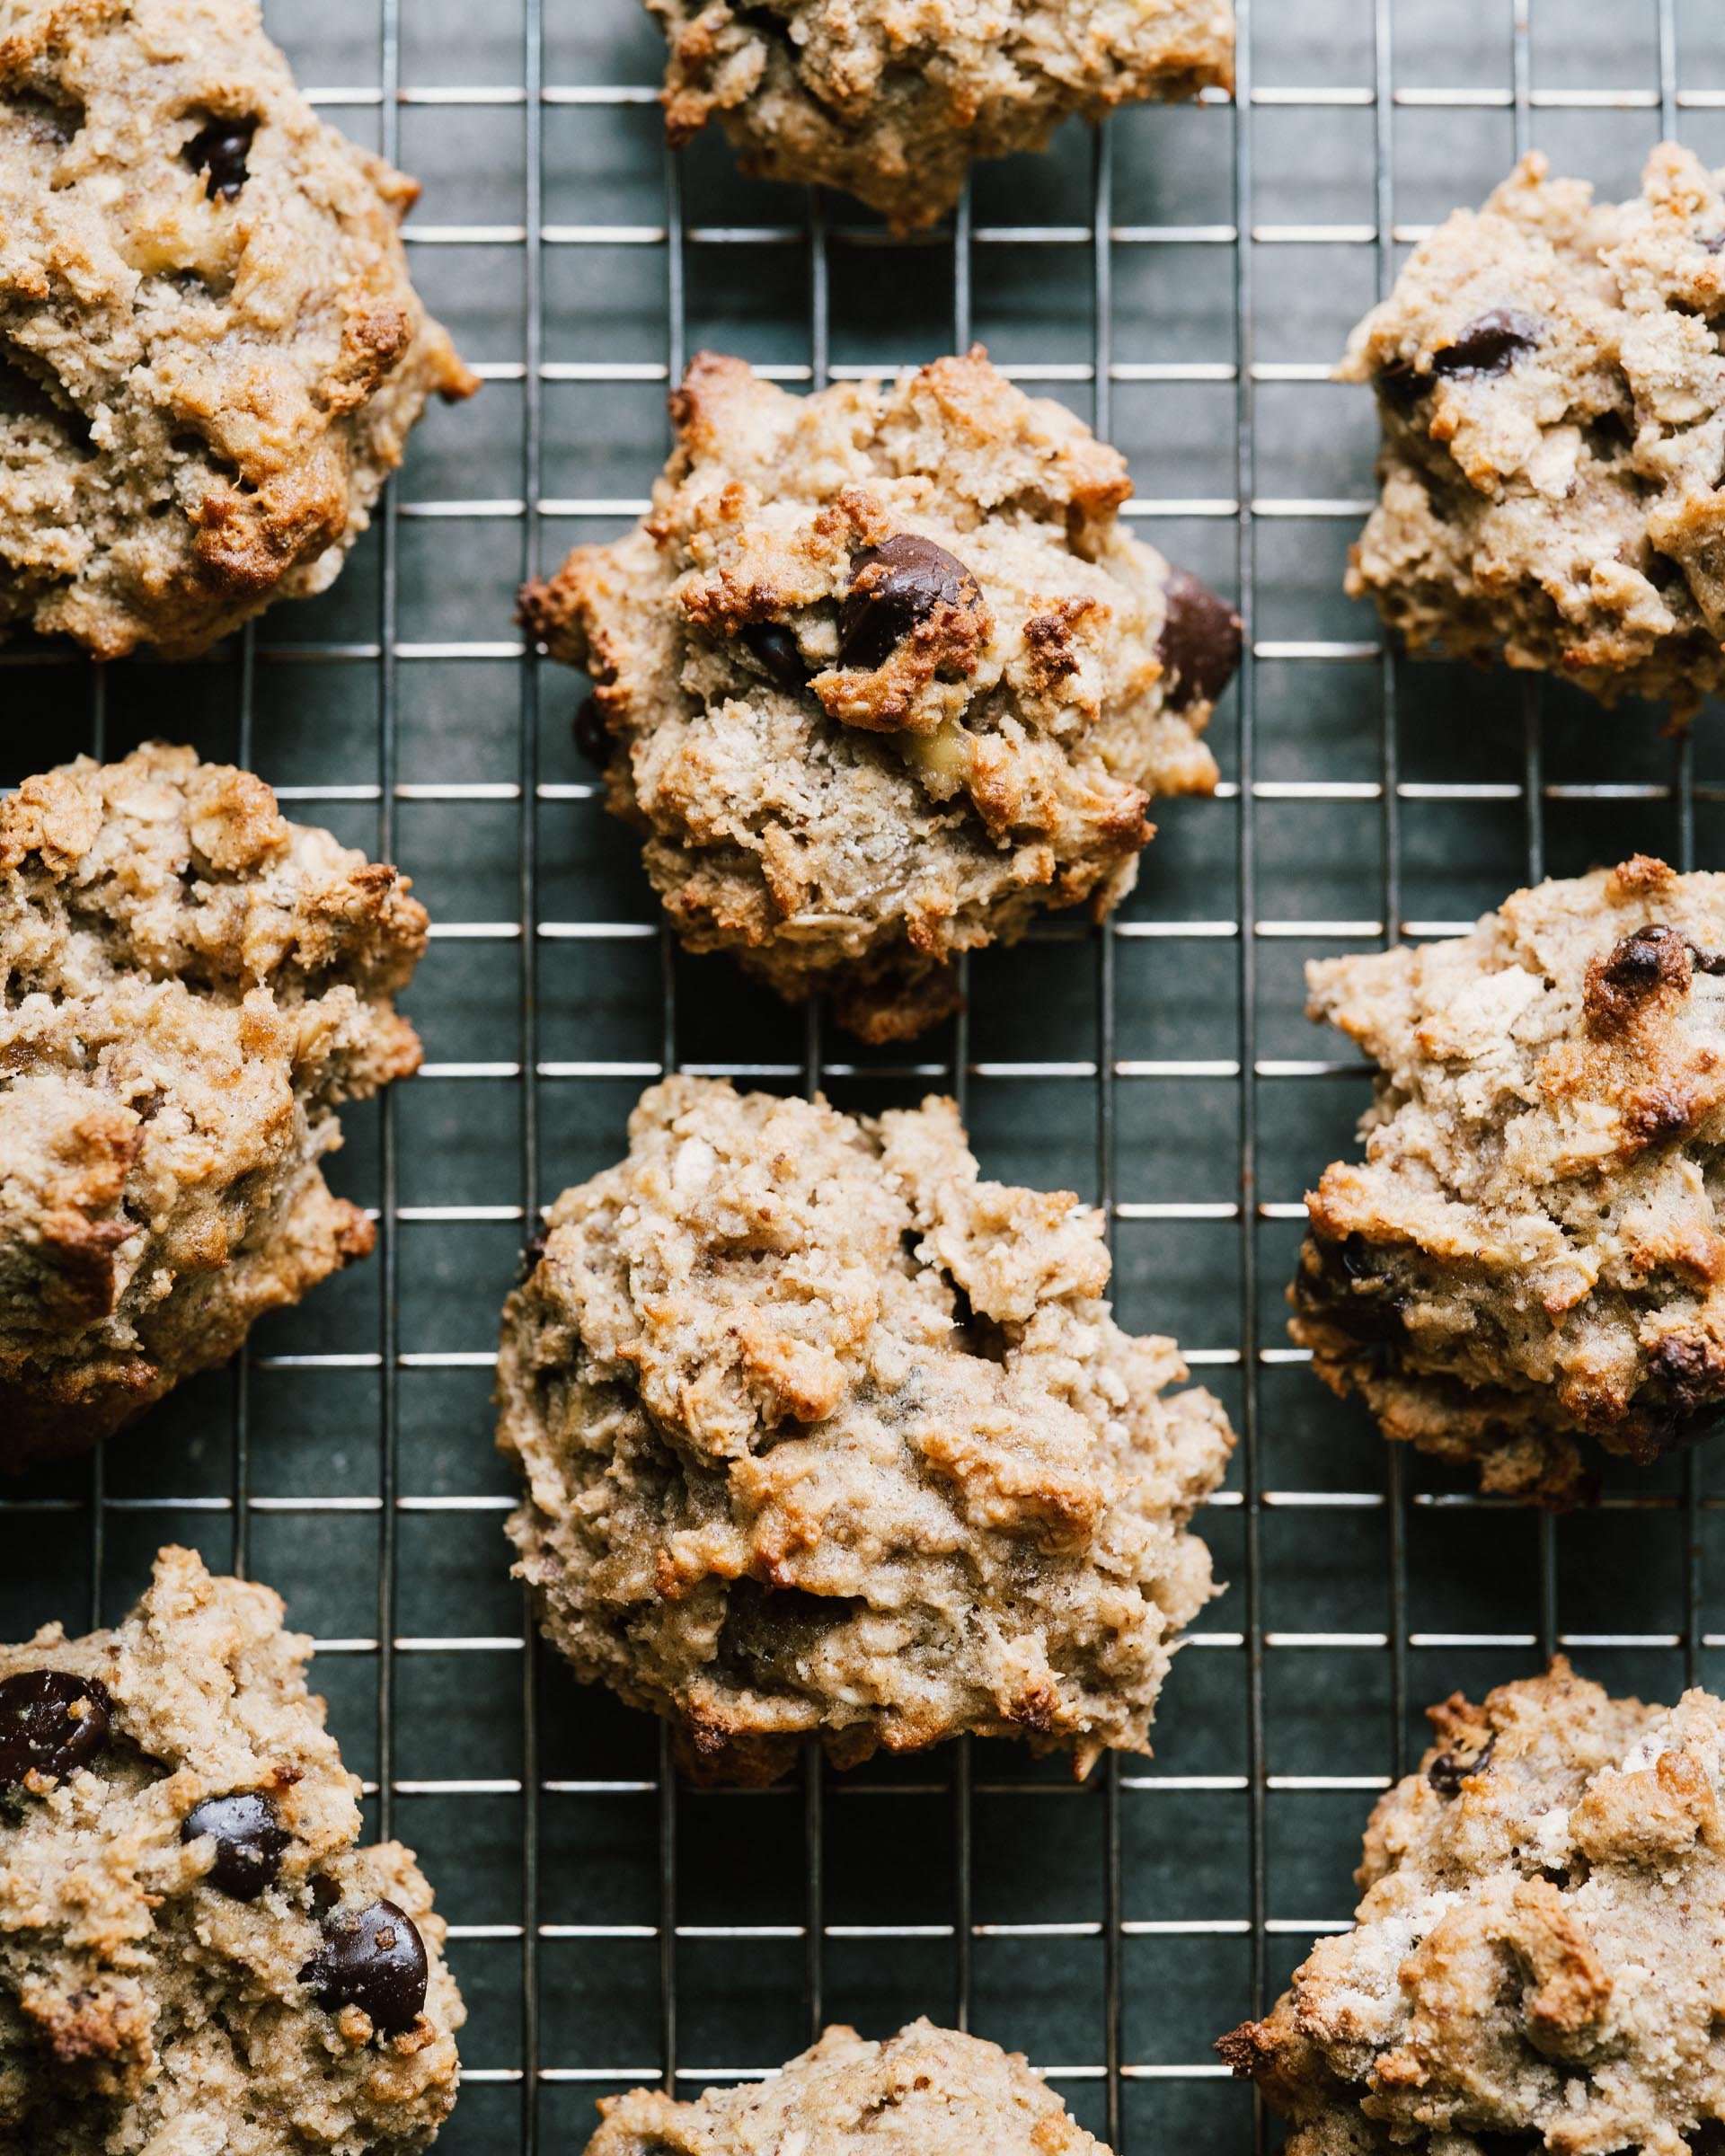
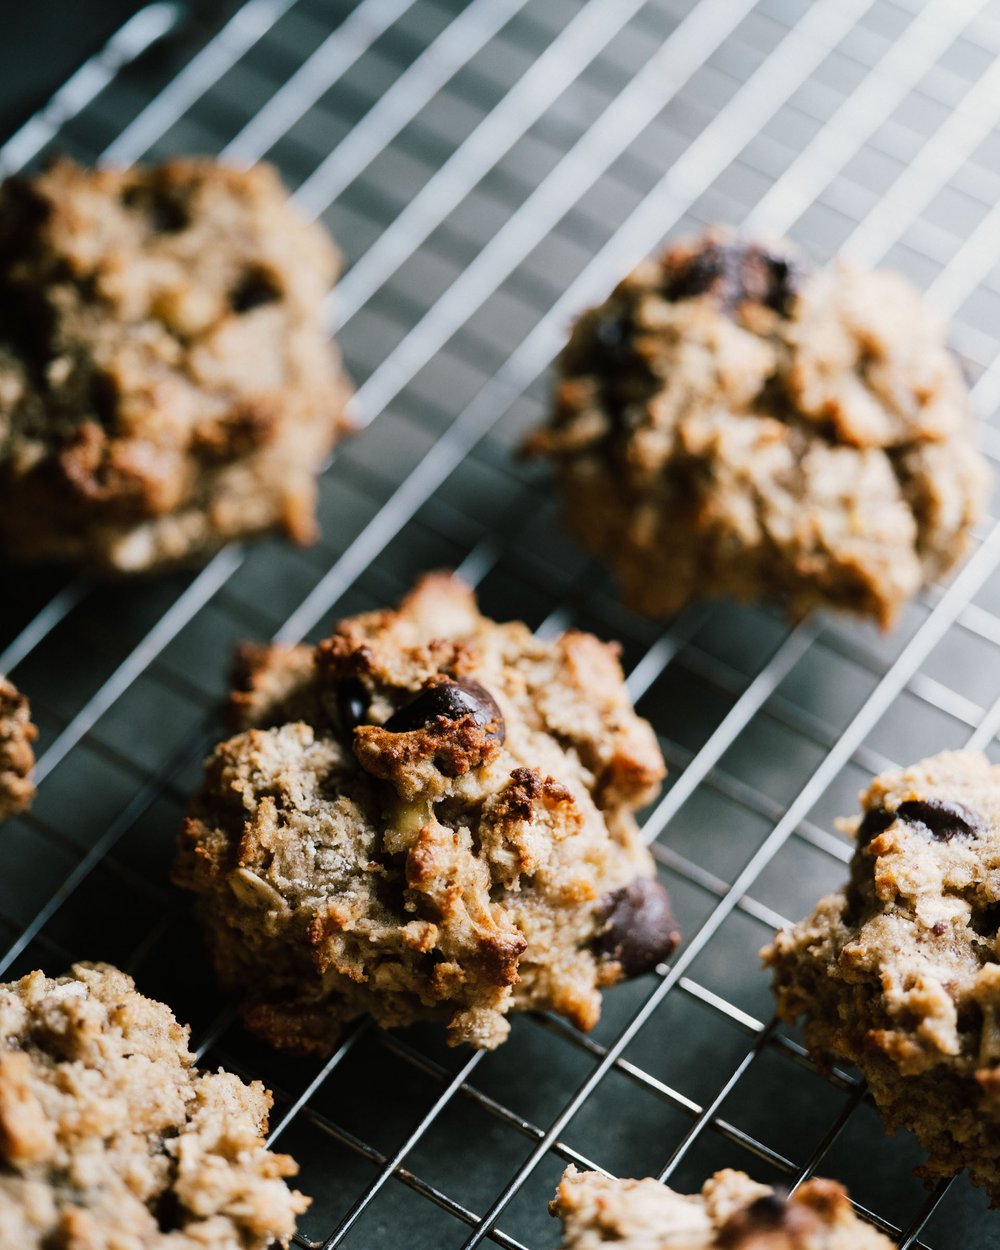
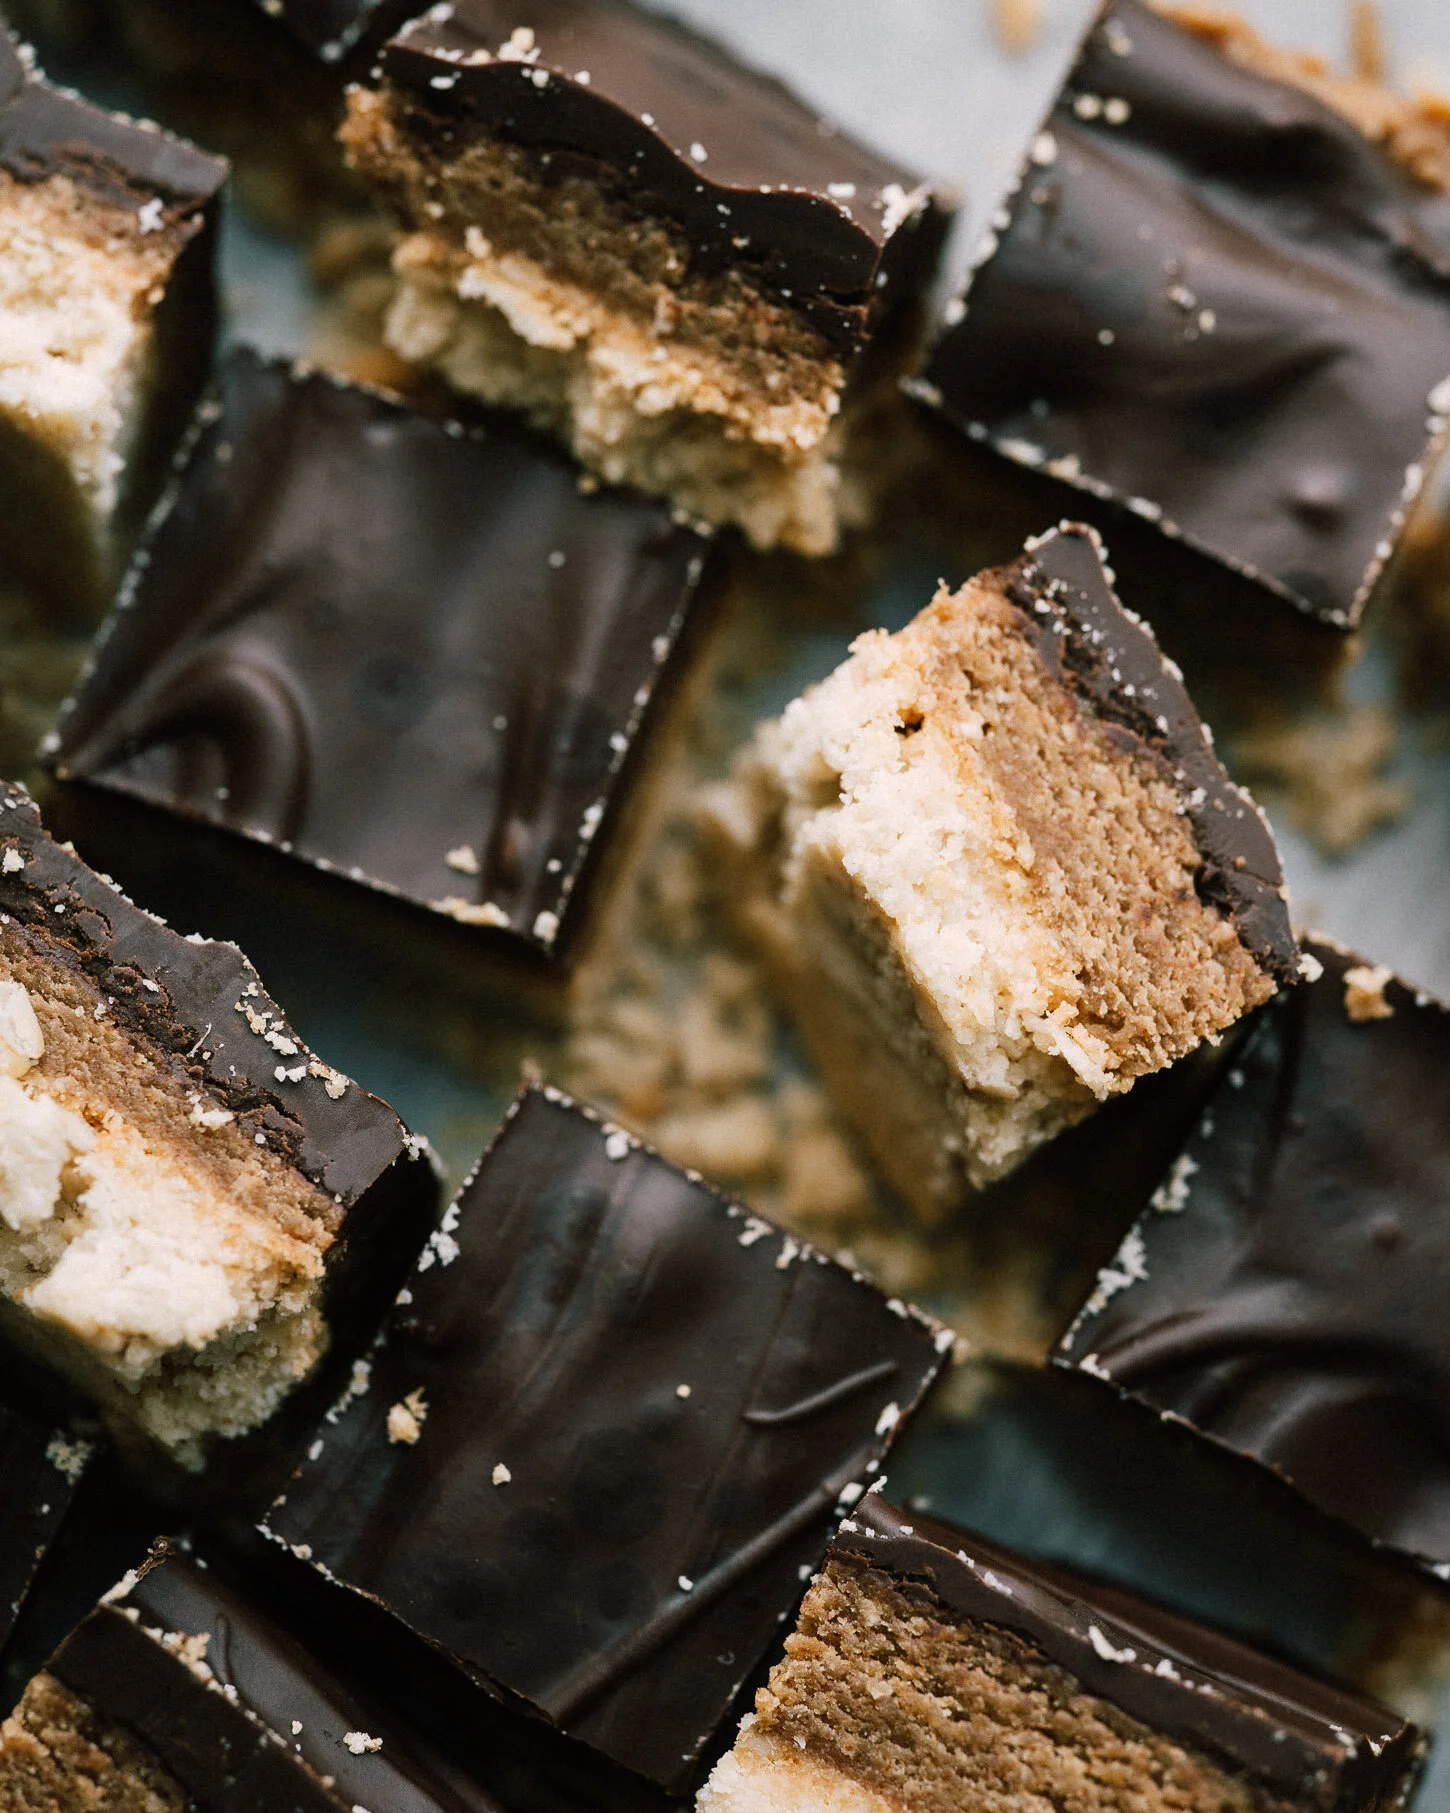
AFTER SCHOOL BANANA CHOCOLATE CHIP CHUNKERS
Makes 12
Gluten free, dairy free and honestly, you can skip the egg if you need to and I believe they’ll still hold. I’ve been making these when I have dead bananas, but banana bread feels like too much. A tray of these will be gone before the end of the day and they hold up in a lunch box too.
Nut allergy folks, all-purpose flour is fine. Replace the almond and coconut flours with 1 3/4 cups all-purpose flour. They will look different than what is pictured. The flax does help absorb some extra moisture, and you can pick that up and nearly any supermarket these days.
Recipe riffed from Joy the Baker
2 overripe, medium bananas (about 1 cup)
1 egg
4 Tbsp. coconut oil or warmed butter
1/3 cup light brown sugar
1 tsp. vanilla extract
1/2 tsp. cinnamon
big pinch of salt
1 cup almond flour
1/4 cup old fashioned oats
2 Tbsp. flax meal
3 Tbsp. coconut flour
1/4 tsp. baking soda
1/2 tsp. baking powder
2/3 cup dark chocolate chips (or chopped chocolate)
Into a mixing bowl, smash up the bananas super well, we don’t want big chunks left. Add in the egg, oil or butter, sugar, vanilla , cinnamon, salt and whisk everything together to mix. Add the almond flour, oats, flax, coconut flour, baking powder and stir again to combine. Fold in the chocolate chips. Chill the mixture for at least 30 minutes.
Preheat the oven to 360’ and line a rimmed baking sheet with parchment. I make ours free-formed, not perfect balls 1) because they are tough to get into a ball and 2) I like those craggle edges! We want about 2-3 Tbsp. sized lumps, arranged with 2” of space between (they don’t spread much). Bake on the middle rack for 12-15 minutes until toasty on the edges, but still tender in the center. Remove to cool.
Keep the cookies in a covered container at room temperature for up for 3 days, and in the fridge any longer than that.