Pantry Staples

Basics, Entrée, Gluten Free, Pantry Staples, Salad

MEAL PREP SAUCES

sprouted kitchen - meal prep sauces

MEAL PREP SAUCES

Thanks to those of you who commented and asked for the sauce ideas. I hear you! Let's make dinner better.
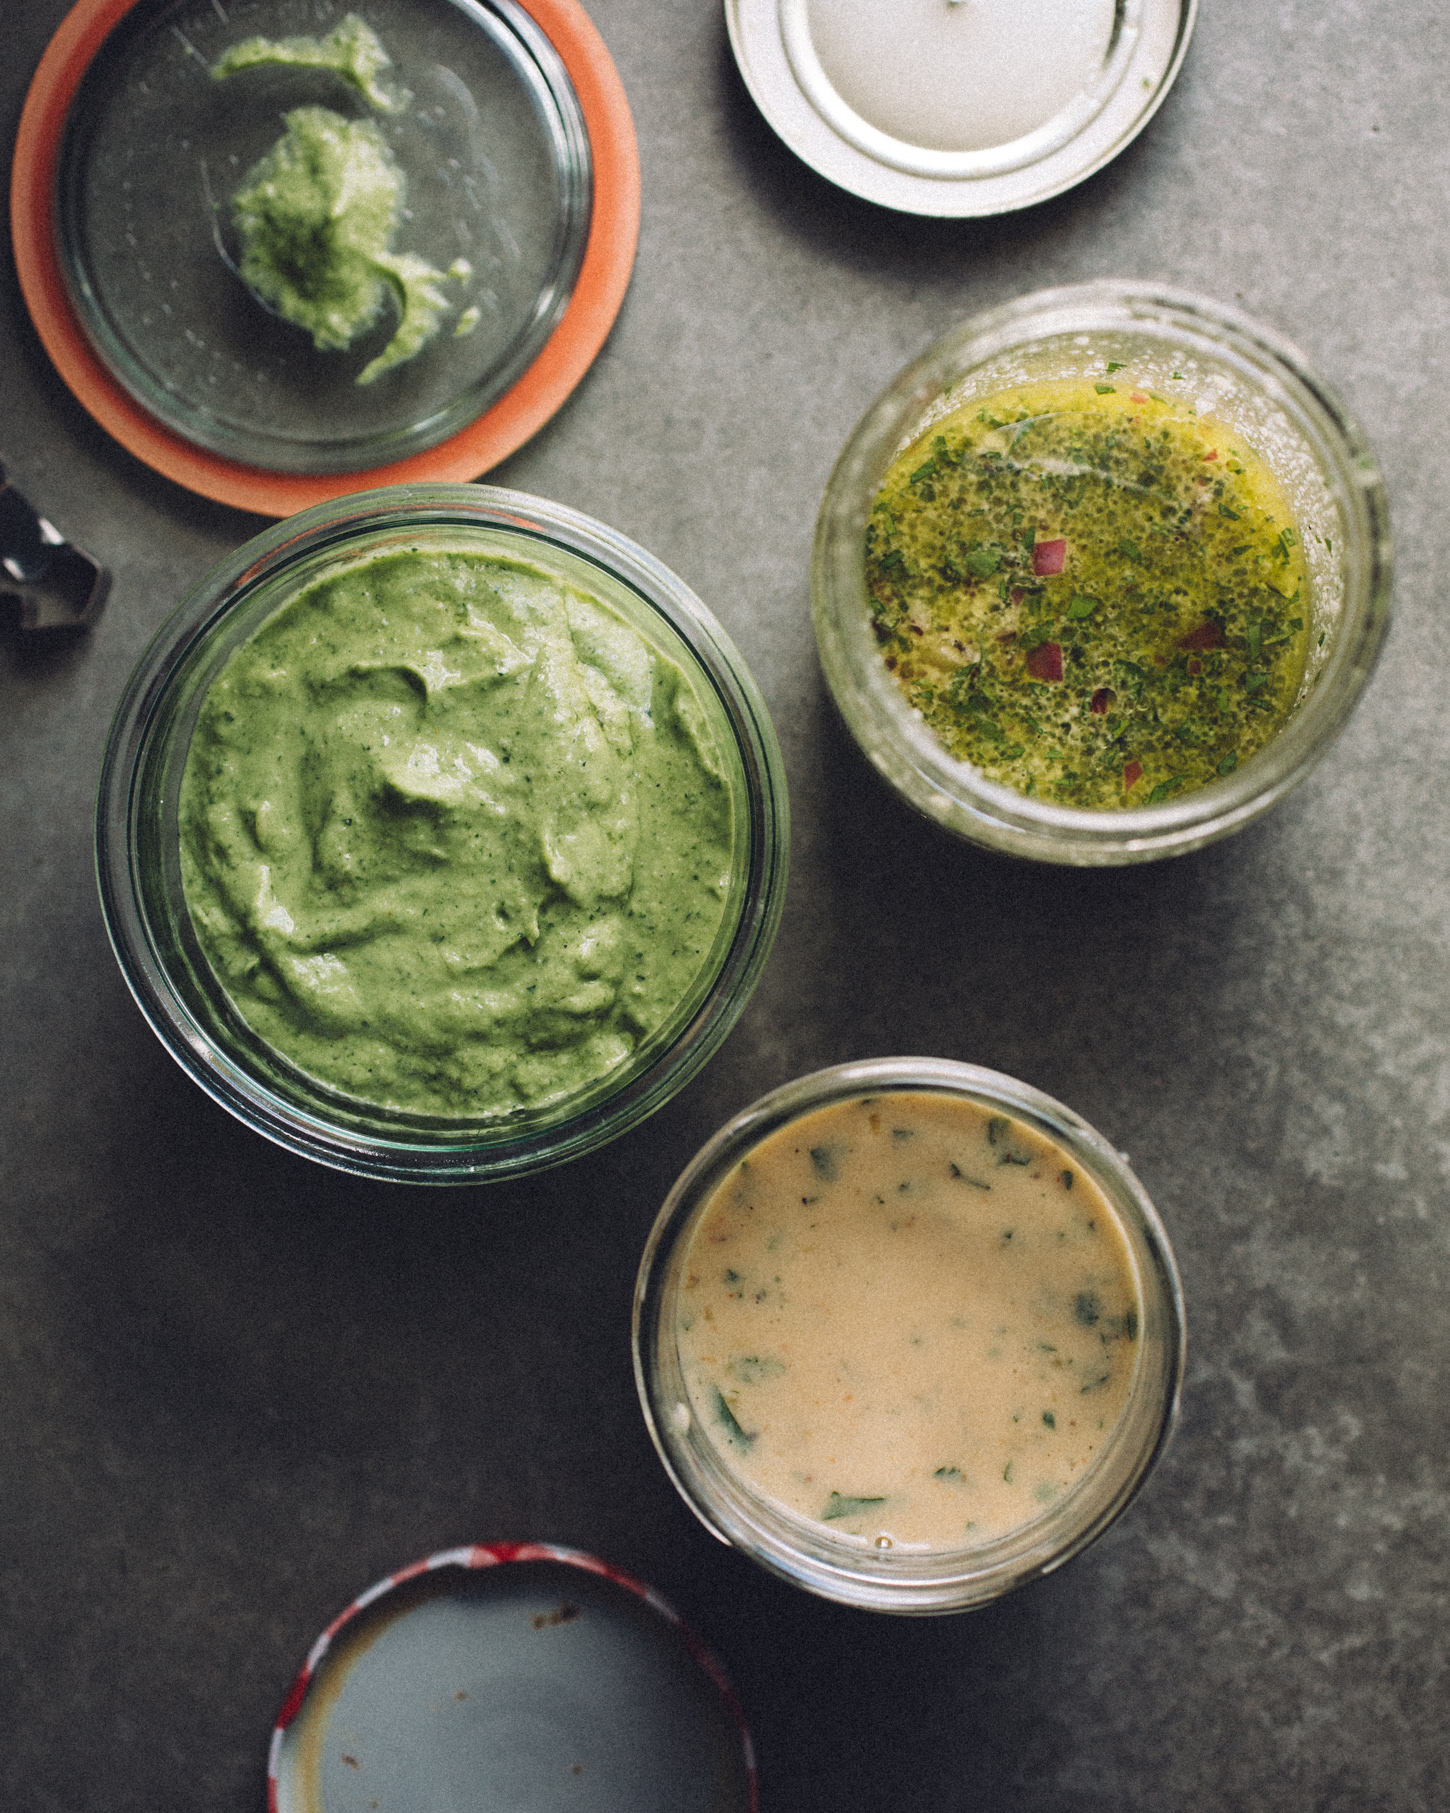
In this season of life, our meals are riffs on the same sort of thing, all made special by the rotation of a few sauces. As a girlfriend mentioned to me, "I can chop things for a salad or roast some vegetables, I just need to know how to make the sauces" - so hopefully this is helpful. The vinaigrette works on any sort of green salad, the mexi bowl sauce is what we put on tacos, stuffed peppers or burrito bowls, which happen weekly here. It is also great with scrambled eggs. The citrus tahini miso is the crowd favorite recipe from Bowl + Spoon. We use it over grain or noodle bowls, or any neutral seasoned roasted vegetable. They all are super easy, only one requires a blender, and they make meals come together so quick. Prep them on a Sunday, they store fine in the fridge for the week and use as needed. I also love this Vegan Caesar or this Green Harissa from the recipe index too.

I lean towards sauces being on the more acidic, zingy side. A few tips for "fixing" them when you wing it, or you misjudged the heat in your jalapeno, or perhaps my measurements here aren't to your taste:

too spicy? more sweetener
too salty? more of all the other ingredients, aside from the salty ones (soy, miso, parm, olives etc.)
too oily? more acid and herbs
flavorless? more acid and salt
too thick? water or citrus
too thin? blend in nuts, herbs, greek yogurt, avocado

// back pocket vinaigrette //

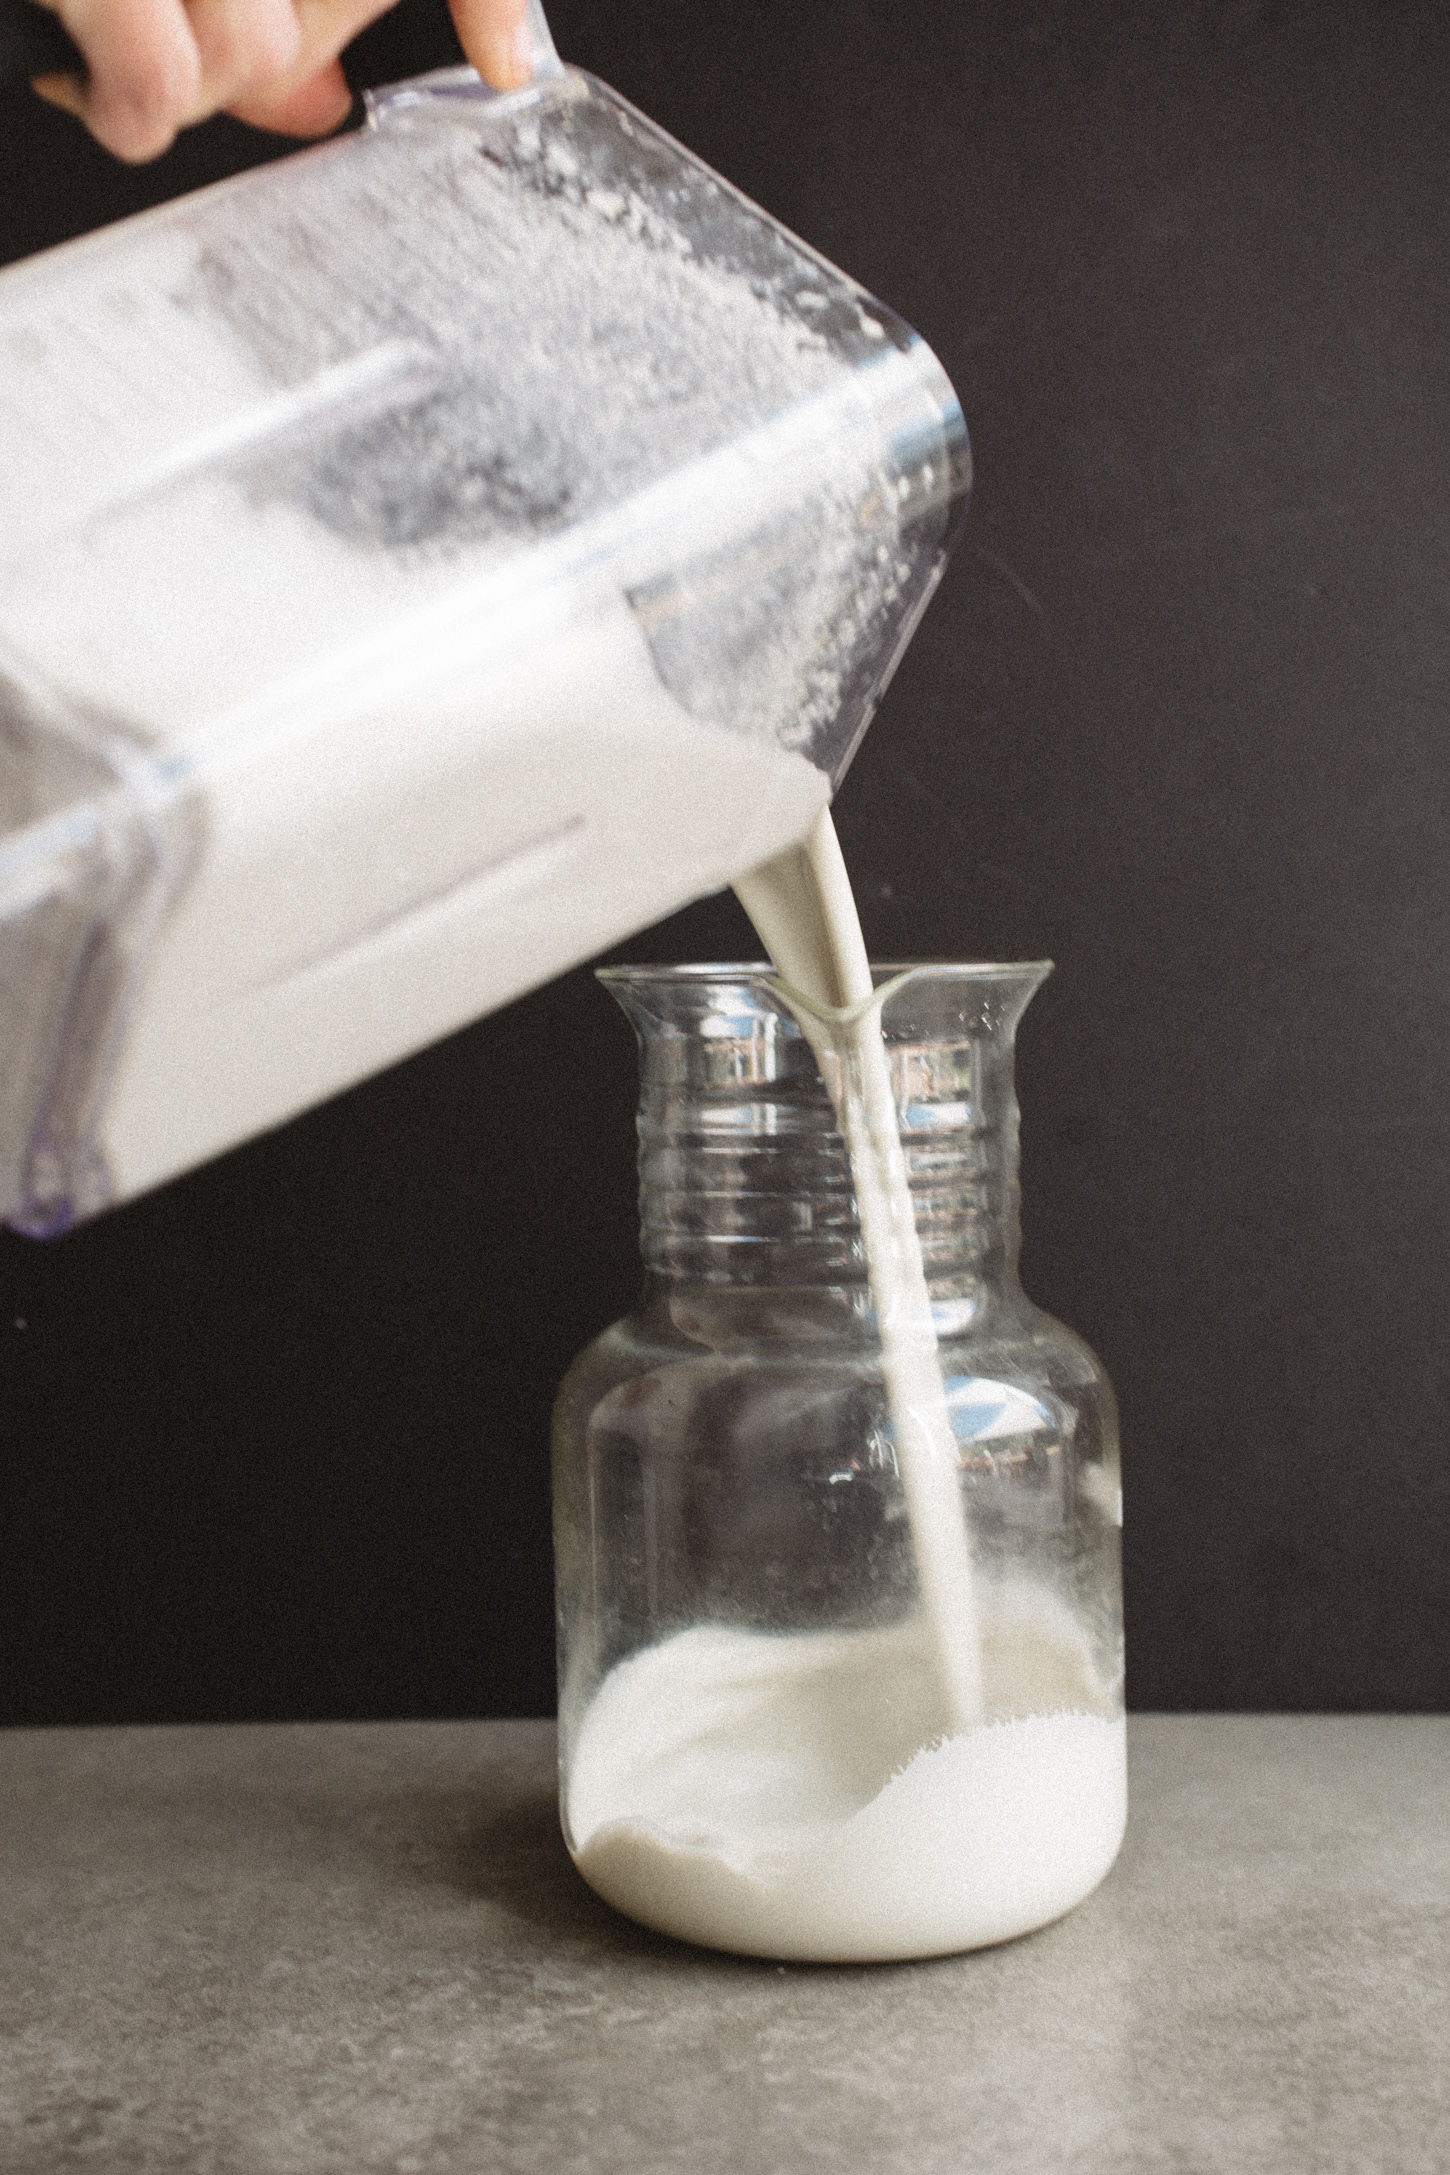
I put everything here in a jar with a lid and shake it up to mix. You could also whisk everything in a bowl or even whiz it in a blender, if preferred. I call for ACV here to use a pantry staple, but a squeeze of fresh lemon helps brighten everything here. I heart you forever, lemons.

2 Tbsp. minced shallot or red onion
2 tsp. dijon mustard
1 tsp. honey
1/2 tsp. sea salt
fresh ground pepper
1/3 cup apple cider vinegar
1 Tbsp. grated parmesan
2 Tbsp. chopped parsley (1/2 tsp. dried oregano as a sub)
1/2 cup extra virgin olive oil

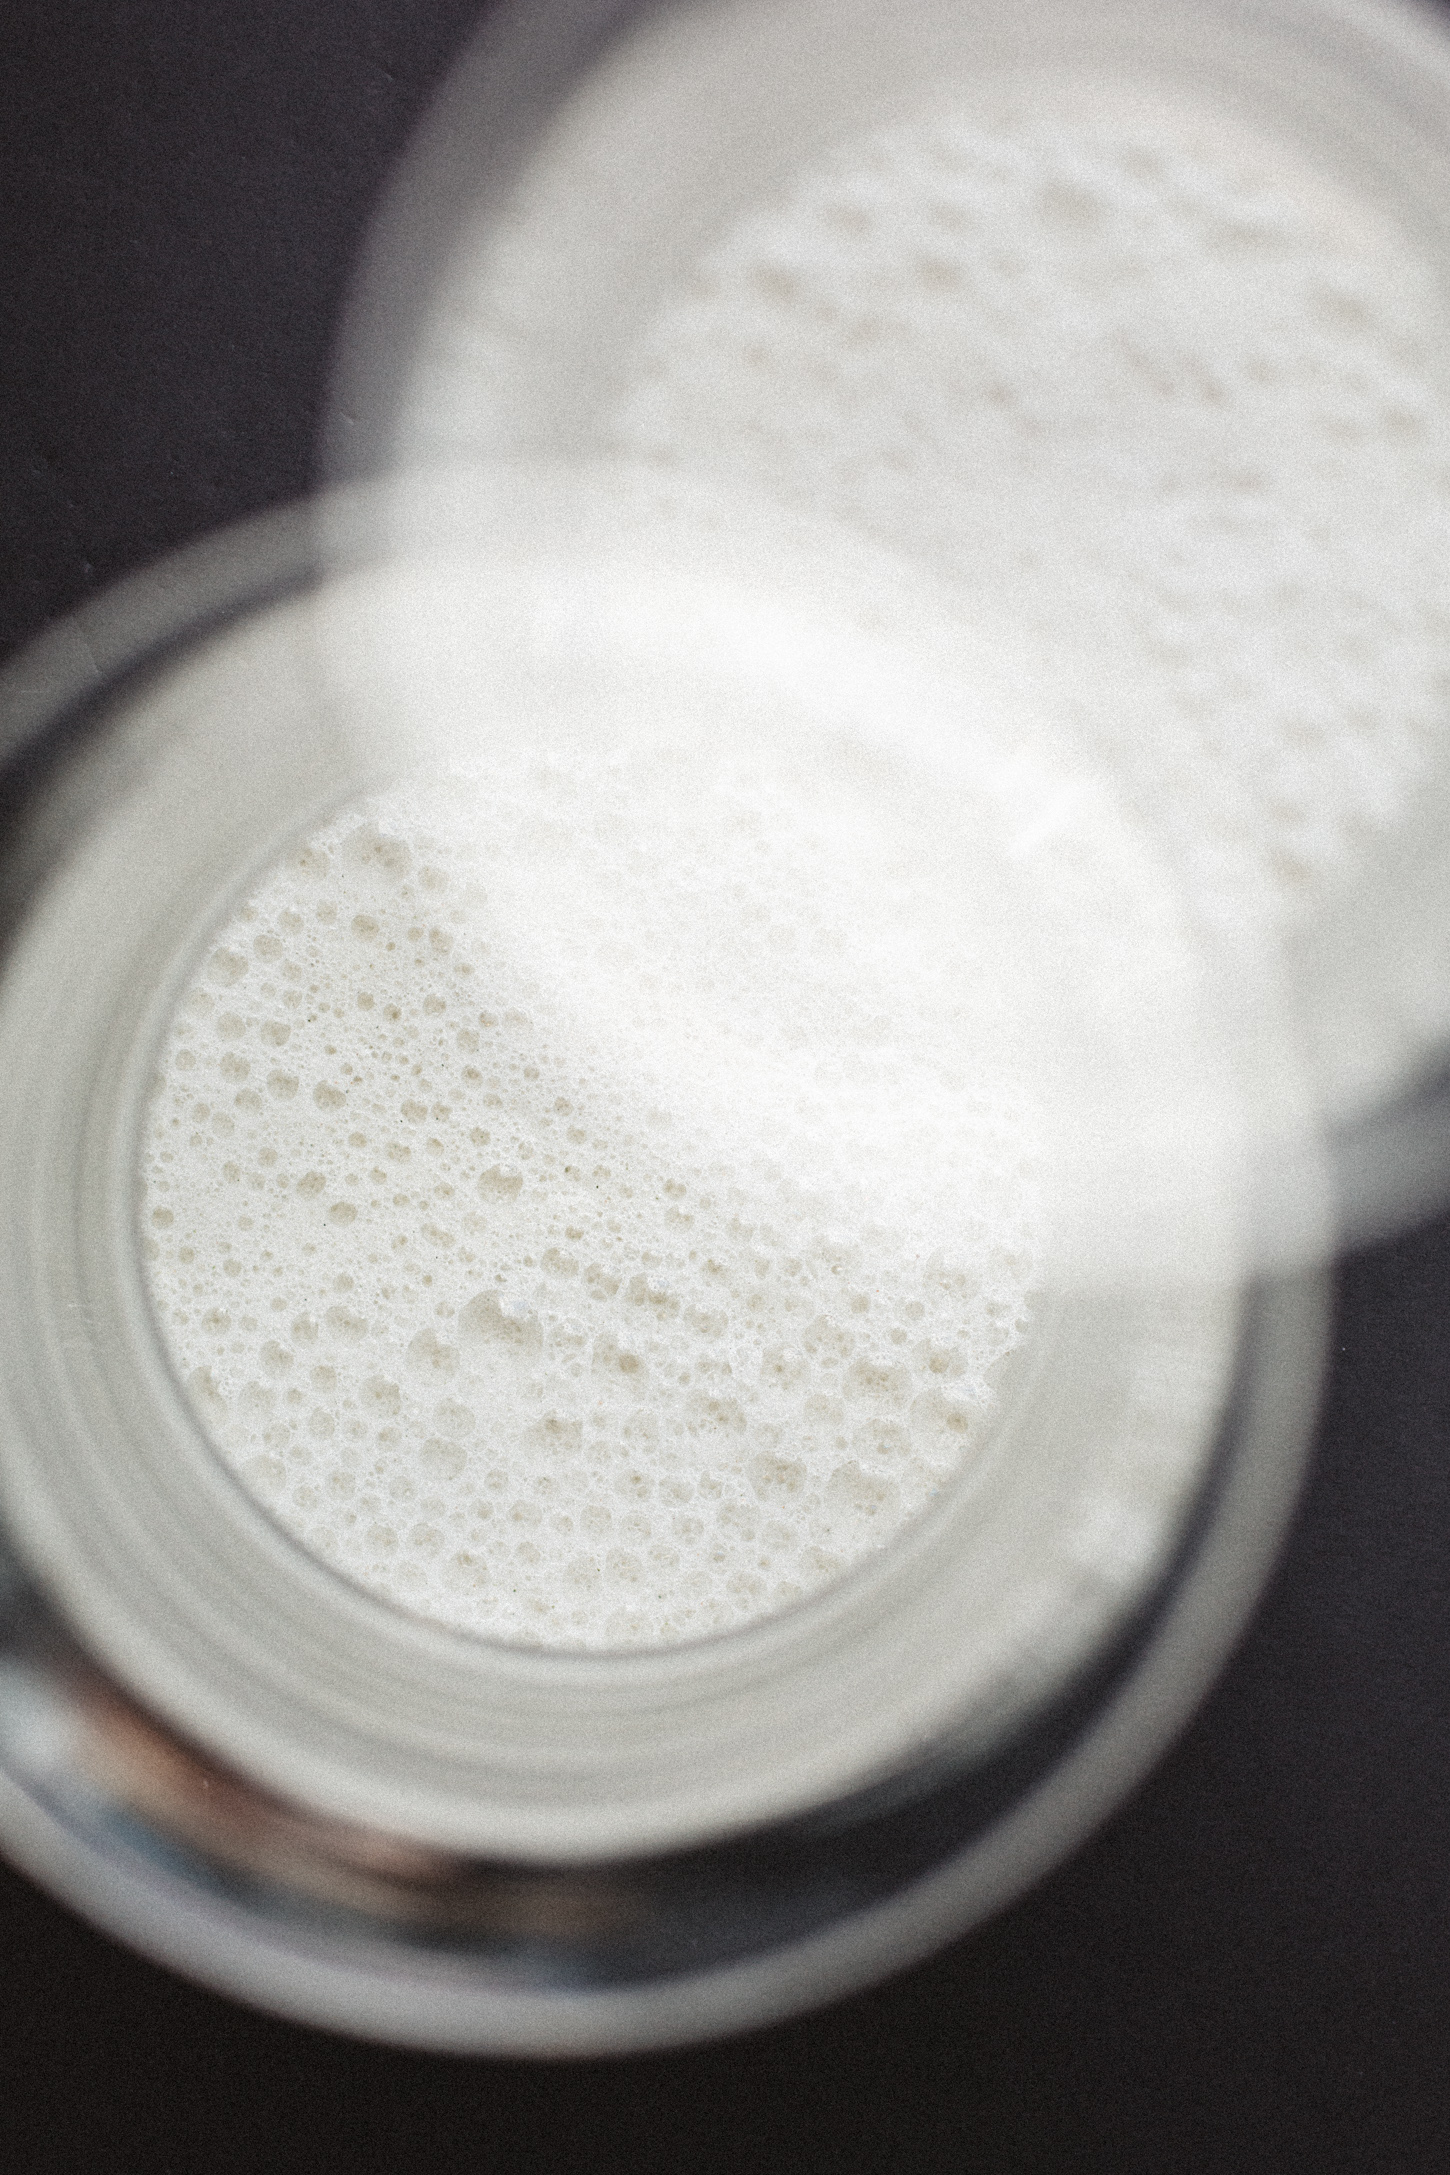
Into a jar with an available matching lid, combine the shallot, dijon, honey, salt, a few grinds of pepper, cider vinegar, parmesan, parsley and give it all a little swirl. Add the olive oil and shake it around to mix. Season to taste. 
Dressing will keep at room temperature for a day or two (the parm is fine), or in the fridge for a week. If the oil solidifies, just leave it at room temp for a few minutes before using. 

// mexi bowl sauce //

1 jalapeno, roasted over gas burners or broiled for 5 minutes
1 clove garlic
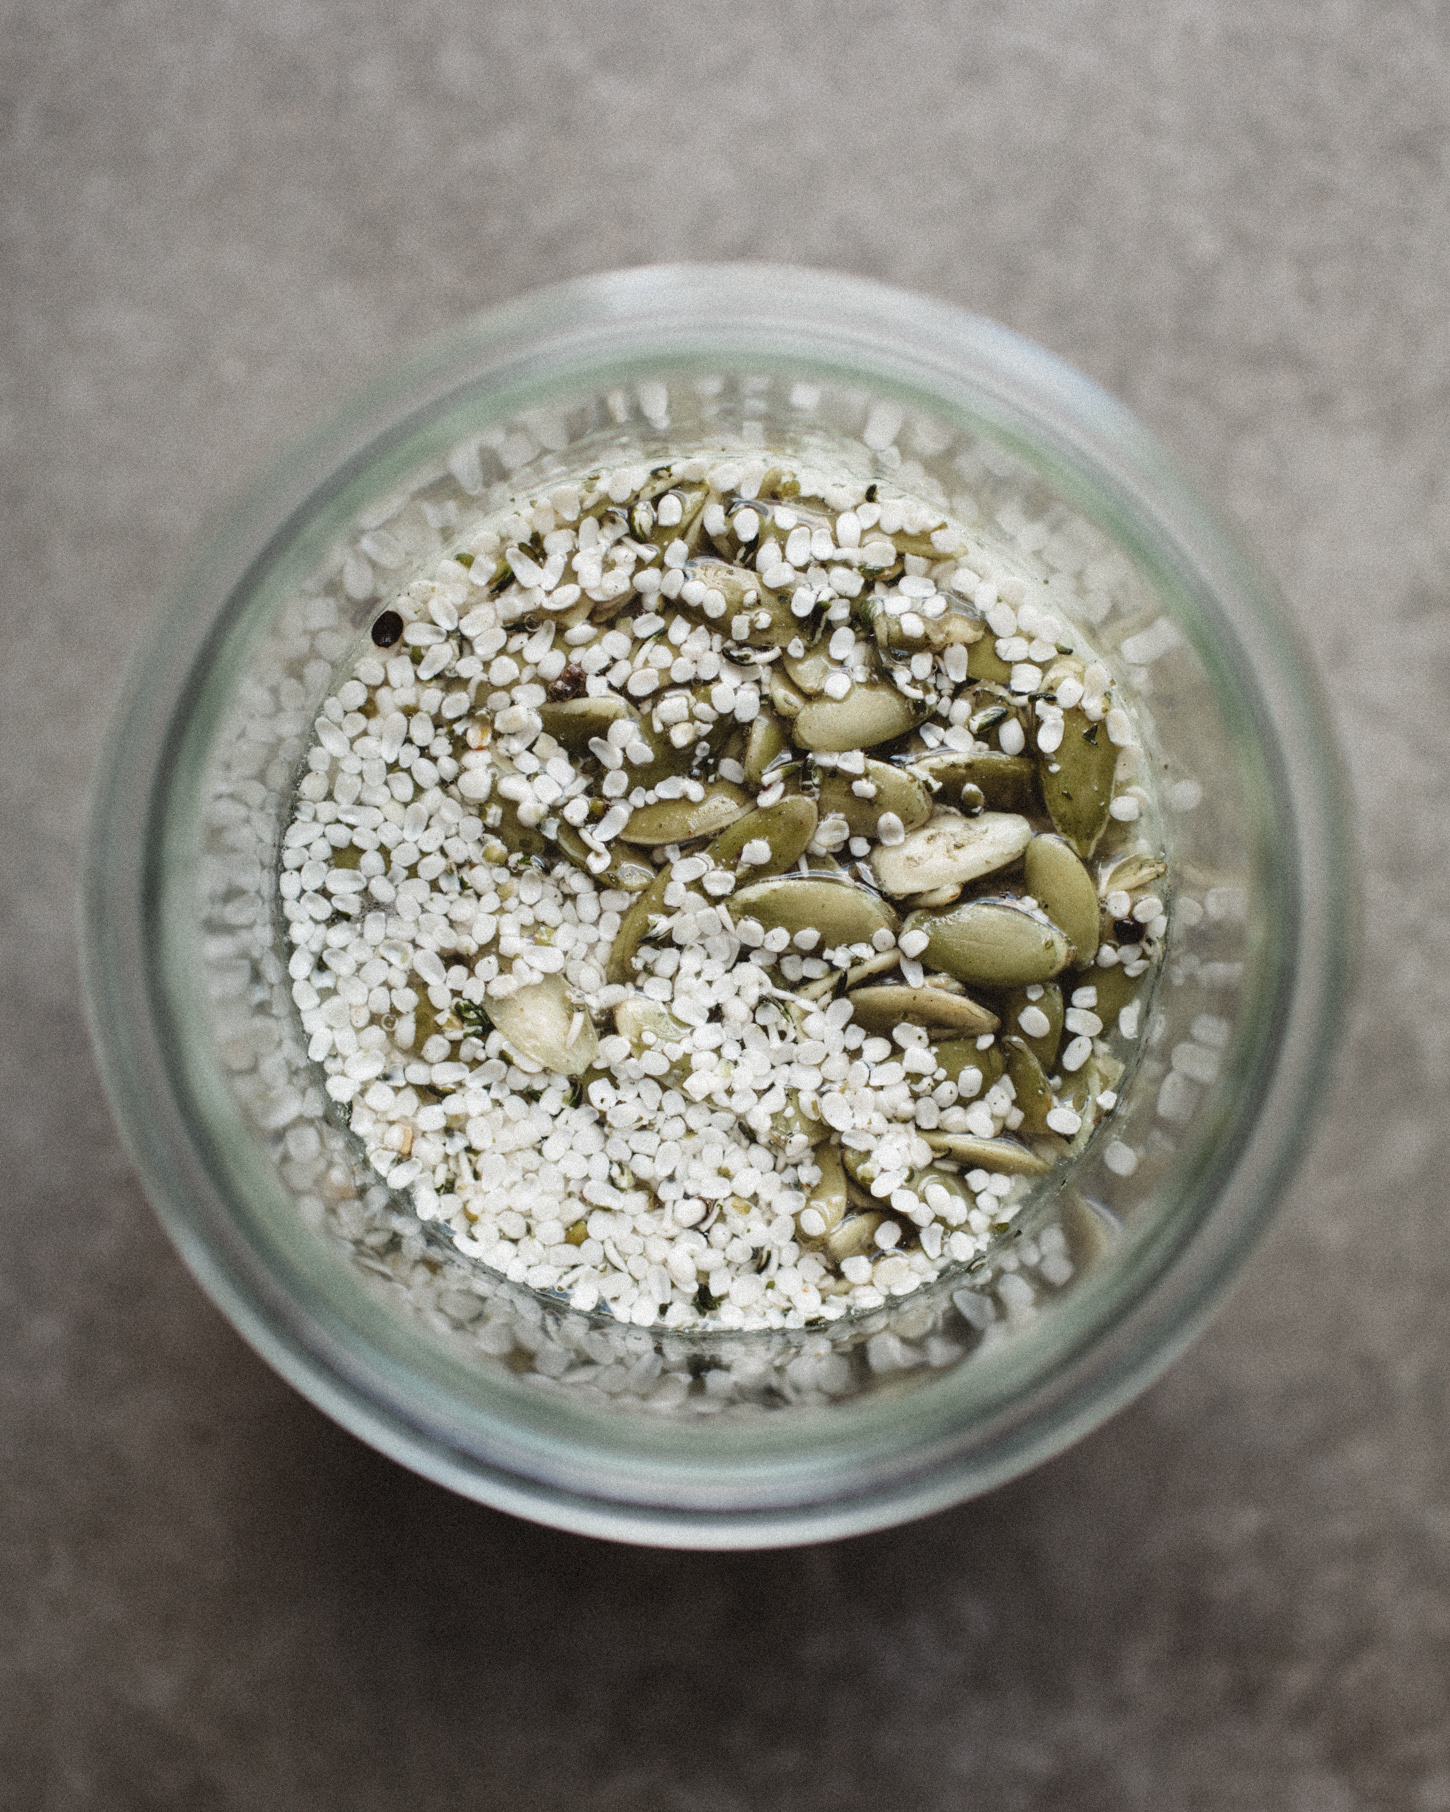
1/4 cup toasted pepitas
1 anchovy (optional but delicious, you wont even know its there)
3/4 tsp. sea salt
1 cup fresh cilantro
juice of one large lime
1 Tbsp. white or red wine vinegar
1/4 cup extra virgin olive oil
1/4 cup water
1 ripe avocado

Do a quicky roast to your jalapeno, I do this over the stovetop. Chop it up, avoiding some of the seeds in the center. Put the jalapeno in your blender, along with the garlic, pepitas, anchovy (if using), sea salt, cilantro, lime juice, olive oil, water and avocado. Blitz until smooth. Use citrus or vinegar to thin it if you prefer it thinner. It will firm up in the fridge. 
Best used within a few days. Will keep covered in the fridge for 5 days. 

// citrus tahini miso //
from Sprouted Kitchen Bowl + Spoon
I will say this yields enough for one meal? Depends how saucy you are. Double it if you'd like it on hand for more than one meal. 

1/2 cup tahini
2 Tbsp. yellow or white miso paste
1 Tbsp. honey or agave
2 tsp. sriracha
1 Tbsp. toasted sesame oil
1 Tbsp. rice vinegar
1 garlic clove, grated
1/4 cup citrus juice (orange or lime preferred)
2 Tbsp. water, more as needed
minced cilantro, optional
sea salt and pepper to taste

Into a bowl, combine the tahini, miso, honey, sriracha, sesame oil, rice vinegar, garlic, citrus juice, water and whisk everything until evenly combined. Taste and adjust as you wish. Whisk in fresh cilantro, if using. 
Keep the dressing stored in the fridge for a week. 

Print This Recipe

Beverage, Breakfast, Gluten Free, Pantry Staples

NUT + SEED MILK

nut_seed_milks_01.jpg

Popping in to add something to the pantry staple arsenal. Malk? Mylk? I can't. It's just milk made from nuts and seeds and has made no sense to my parents how one "milks" a nut so I hope I can clear some things up for them, if perhaps visually, here. See the nipples on that cashew, Dad? ;)

It's been chilly lately, so my coffee and tea consumption has been a pretty steady stream through the day until happy hour. I typically use an unsweetened coconut milk creamer from the market but have more recently fallen in love with homemade cashew milk in there instead (after the coffee has cooled down quite a bit, the milk just separates and falls to the bottom of a super hot cup). We also have a family wide adoration of peanut butter Puffins cereal that floats beautifully in the almond milk.  I am including a few recipes for nut and seed milk (for those with nut allergies) below. You do need a nut milk bag or small sieve (cheesecloth optional) to strain the almond milk. I tend towards the cashew milk because the fibers all blend into the milk enough that you can just include them in the finished product, leaving you with something that resembles whole milk versus skim. If you prefer it the viscosity of store-bought, strain it. I make muffins with the leftover pulp (reference this pumpkin muffin recipe, swap in overripe bananas for the pumpkin and use a dry sweetener instead of the maple to compensate for the wet pulp). The suggested soaking step helps break down the phytic acid and enzyme inhibitors, making the nuts easier to digest. Overnight is easiest for me, it's all hands off time, then I can blend them in the morning, but at least 4 hours would likely do the trick. More notes on why to soak them on My New Roots

Are you thinking "Sara, I can buy this?" I know, I think that too, and usually do, so I won't sell this too hard. I will say this turns out much creamier and has a fresher, stronger nut flavor and you can personalize the sweetness or lack thereof and it is more cost effective and less wasteful. It's like anything homemade, I buy store-bought marinara sauce and cookies and such all the time, but making something from scratch has the extra magic you can't buy. Perhaps that is just from being close to the process. 

NUT + SEED MILKS
I use about 3 1/2-4 cups water and find that to be my optimum nut and seed milk viscosity - a little thicker than store bought stuff. You can play with that 1/2 cup either direction for something on the thicker or thinner side. Two dates in 4+ cups of nut milk is just barely sweet. Using maple to taste instead will be a bit more of an obvious sweet flavor. 

// almond milk //

1 cup almonds, soaked overnight
2 dates, pitted
pinch of sea salt
4 cups filtered water
1/4 tsp vanilla extract or seeds from half a vanilla bean

Soak the almonds and dates overnight. Drain off extra water from the top. Put all the nuts and dates in a high speed blender with 4 cups fresh water, a pinch of salt and vanilla. Blend on high for 2 whole minutes. Strain through a nut milk bag for a smoother milk, this is optional. 
Store in the fridge, covered, for a week. 

// cashew milk //

1 cup cashews, soaked overnight
2 dates, pitted
4 cups filtered water
pinch of sea salt
1/4 tsp. vanilla extract or seeds from half a vanilla bean

Soak the cashews and date overnight. Drain off extra water from the top. Put all the nuts and dates in a high speed blender with 4 cups fresh water, a pinch of salt and vanilla. Blend on high for 2 whole minutes. Strain through a nut milk bag for a smoother milk, this is optional. I leave the fibers in.
Store in the fridge, covered, for a week. 

// pumpkin + hemp seed milk //

1/2 cup hemp seeds
1/2 cup pumpkin seeds
1-2 dates, pitted
3 cups water
pinch of sea salt
1/4 tsp. vanilla extract

Soak the nuts/seeds and date overnight. Drain off extra water from the top. Put all the seeds and dates in a high speed blender with 4 cups fresh water, a pinch of salt and vanilla. Blend on high for 2 whole minutes. Strain through a nut milk bag for a smoother milk, this is optional. 
Store in the fridge, covered, for a week. 

nut_seed_milks_15.jpg
Print This Recipe

Snack, Pantry Staples, Dessert, Gluten Free

PANTRY STAPLES: COCOA COCONUT BITS

cocopuck1.jpg

These may be the new favorite treat around here. I tried a brand called Hail Merry coconut macaroons at a friends house last weekend and with their simple ingredient list, I knew I could recreate them myself. A small ingredient list, all in one bowl AND delicious. I don't like selling people on recipes, but decadence doesn't often come by so simply.

In keeping up with the proposed Pantry Staples series, I am adding a few notes on my most frequently used fats. The list is pretty short, but there are controversies over canola, grape seed, corn and other vegetable oils, so I stick to the few mentioned here. Again, I am not a dietitian nor do I have any nutritional degrees. These are my opinions based on experience and light research.

Extra Virgin Olive Oil: This is a monounsaturated fat which is said to be a "good fat" that can help lower cholesterol and prevent heart disease. The range of flavors in olive oil is pretty impressive. You can get under ripe, grassy, creamy, fruity and more. Depending where you live, there may be a local brand at your farmer's market, but there are a ton of markets and specialty stores with great brands as well. I typically have two bottles - one moderately priced one that I use for cooking (which should only really be used for moderate heat for the integrity of the flavor and nutrition), and another slightly pricier bottle that we use for dipping and homemade salad dressings, where the flavor is truly appreciated. Speaking of dressing, I love using this lemon oil from Stonehouse. Not overly lemony, just perfect. It usually has a shelf life of about a year, and should be kept in a cool, dark place to keep it as fresh as possible.

Extra Virgin Coconut Oil: This is my quickest answer to a non-controversial, high heat fat. It is a saturated fat, so it has made a strong come back from a history of being frowned upon for that reason. There are studies that say it is easier to digest than other fats, and the presence of certain acids make it good for skin care, stress relief, weight loss and immunity. It is a solid at room temperature, much like butter, so can be gently melted to be used in baked goods or warmed in a pan for a sauté.

There are some brands that smell more coconut-y to me, but for the most part, I find the flavor pretty versatile. You want to purchase an extra virgin, unrefined version. I keep mine in the pantry because I use it pretty often, but if you don't, it lasts longer in the refrigerator.

Nut Oils: These babies come with a higher price tag and distinct flavors, so I mostly use them as finishing oils or in salad dressing. A nice drizzle of hazelnut oil on some roasted squash, or pistachio oil in a quinoa salad - they have the essence of their nut, while also giving that moisture to the overall texture. The flavor changes with heat, so if anything, only use them with low heat. Like nuts in their whole form, they can go rancid fairly quickly, so should be kept in the fridge if you don't use them often. Be sure to check the dates where you purchase these oils too, as you want to buy from somewhere with a quick turnover to help ensure you're getting a fresh bottle.

Organic Butter: While dairy is composed of saturated fats, which affect cholesterol levels, butter is a natural food, so it still comes out as a better option than some of the other oils marketed as "healthy fats."There is no substitute for this flavor, first and foremost. I like butter on fresh, crusty bread or on top of weekend pancakes, but try and be conscious about using it in moderation. Because of the milk solids, butter burns at high heat, so is best used with lower heat cooking or in baked goods. The work around for this heat specific temperment is to clarify the butter, which is a simple process that removes the milk solids, so you can cook with it at higher temperature. My New Roots has a great post on how to make it and why. I do my best to buy organic dairy whenever possible. These days, it's pretty easy to find.

Sesame Oil: This oil has both polyunsaturated and monounsaturated fats, antioxidants and several vitamins and minerals. Like any of the other oils, these health benefits are still to be considered with a high caloric content, so should be used in moderation. The flavor is pretty assertive, so I use sesame oil when that flavor is welcomed, mostly Asian inspired meals. It can handle higher heats, but definitely has a nutty flavor to it. You can purchase plain or toasted sesame oil, and while I love the flavor of the toasted, it is pretty strong, so with cooking, I often go half toasted sesame and half coconut oil to mellow it out and avoid any burning smells or flavors. I keep the toasted variety in the fridge for a longer shelf life.

cocopuck2.jpg

COCOA COCONUT BITS // Makes 20

Because these are vegan, they can also be enjoyed raw. You can scoop them into balls, chill them for about an hour, and enjoy as such. I baked mine at a low heat, because it gives them a texture of somewhere between truffle and cookie and I really love that. A crisp crust and a soft center. Perfection.

1 1/2 cups dried, unsweetened coconut (sometimes tough to find at markets, easy to get online)

1/2 cup natural cocoa powder

1/3 cup rolled oats

1/2 cup grade b maple syrup

1/4 cup extra virgin coconut oil

1/2 tsp. vanilla extract

1/4 tsp. cinnamon

In a mixing bowl. Combine the coconut, cocoa powder and rolled oats together. Stir in the maple, coconut oil, vanilla and optional dash of cinnamon. Mix to coat everything evenly. Set in the fridge for 20 minutes.

Preheat the oven to 215'.

Line a baking sheet with parchment paper. Using a mini scooper or your hands, make 1 inch balls and set them on the baking tray (they don't spread, ample space between is not important). Bake them on the middle rack for 20 minutes. Remove to cool.

Print This Recipe