I have my favorite dozen-ish ingredients that I use most frequently when I cook. They are ingredients that make me feel safe. I am confident in how to use them well, they are good for me while also being flavorful and to this point, I feel like they compose my 'style'. This truth has never really bothered me until I signed a contract to develop one hundred original recipes for a cookbook, and realized that I would need to deviate from my go-to's for the sake of variety. I committed to this project, because I want to be better. So though lemons are clearly in my top twelve, preserving them was something new to me, so I think that counts as a step forward. Or maybe a half step, which is still that right direction.
I know there have been a LOT of lemons around here lately, but citrus is tough to beat right now, so let's be honest, there is likely more to come. I'm not typically one to say "you must make this!", but we will likely use these preserved lemons in a few recipes throughout the coming months, and I'd love it if you would play along. You could toss them in here, or in any of these:
Quinoa with Asparagus and Preserved Lemon Dressing
Green Garlic and Preserved Lemon Hummus
PRESERVED LEMONS //
I read about this method in a cookbook at the bookstore, and have no clue what the title was. It's pretty free form, so I don't believe anyone will be insulted by the lack of credit given. Thank you for your help, mystery book. These are not precise measurements, as all lemons are different sizes. From what I can tell, as long as there is salt, lemons and plenty of juice in the jar, you're off to a good start.
7-ish Meyer Lemons
1 Cup Fine Grain Sea Salt
1 Tbsp. Natural Cane Sugar
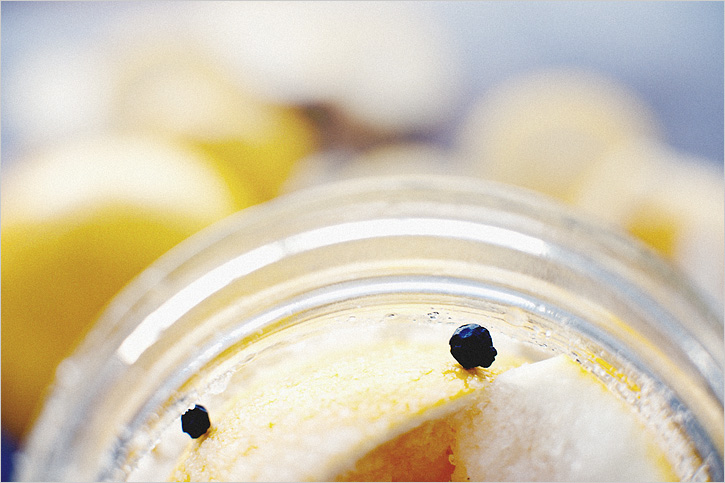
2 tsp. Whole Peppercorns
1. Sanitize a large, wide mouth mason jar.
2. If buying store bought lemons, scrub them really well to get off any wax - the rind is what you'll be eating in the end so give them some elbow grease. If you have a lemon tree, then you're fine. Unless, of course, you use wax and harsh fertilizer :/
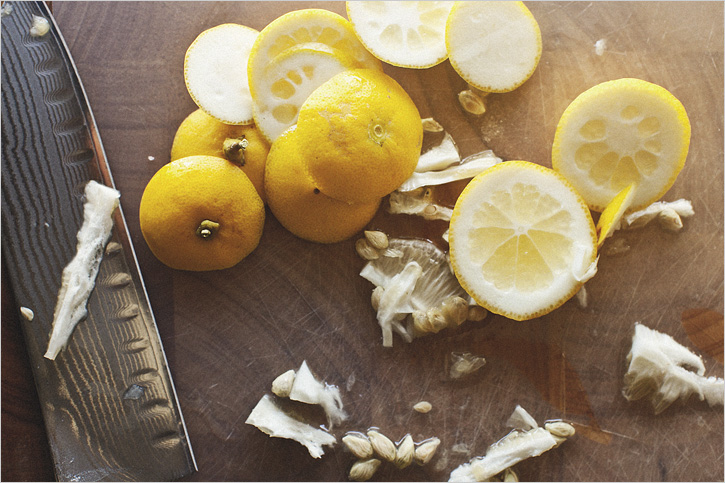
3. Cut the largest of the lemons in half and poke out the seeds. This is the one you'll be using for juice.
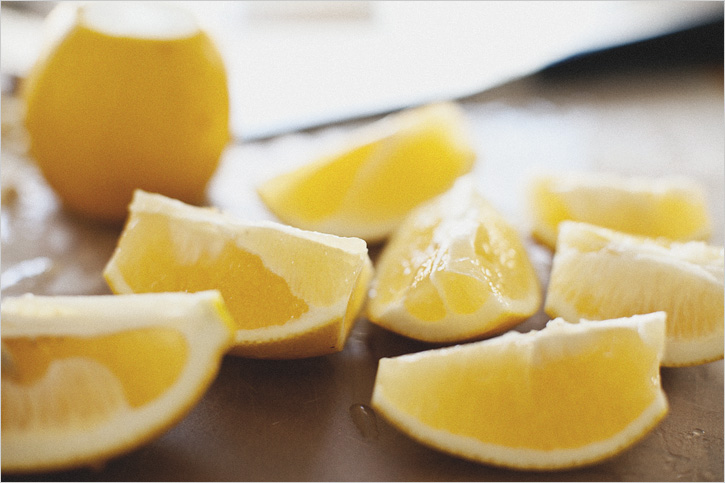
4. Remove the ends of the remaining lemons, and cut them in quarters.
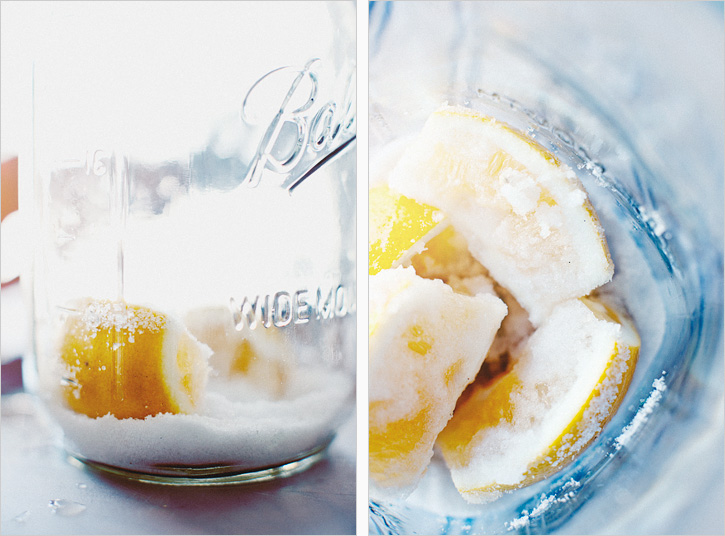
5. Put about 1/4 cup of the salt at the bottom of the jar. Smush in four of the lemon quarters, you don't need to be gentle, we want a bit of juice to squish out. Follow them by about a tablespoon of salt. Try to let it touch the flesh of each slice. Squeeze a bit of the lemon you're using for juice and then repeat with remaining lemons and salt.
6. About midway in the jar, sprinkle the sugar in with the salt, and continue the layering.
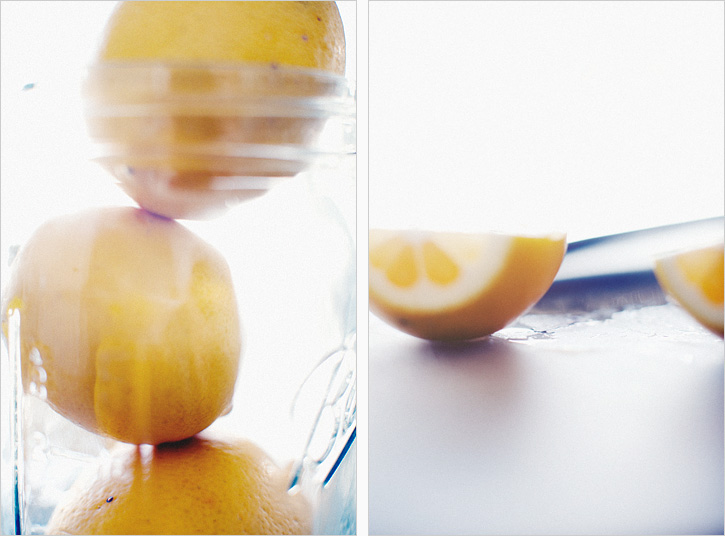
7. When you get close to the top, smush everything down a bit. Make sure no more than an inch or two of the lemon slices are above the meniscus. Add in the peppercorns. Over the next 2-3 days, enough juice should be extracted to cover them. If not, add a bit more yourself.
8. Allow the jar to sit a few days at room temp, and then store them in the fridge. They are probably fine at room temperature, but I'm cautious. Turn them upside down every now and then to keep things moving.
9. They are ready to use in cooking after about a month, but will keep in the fridge up to 6 months.
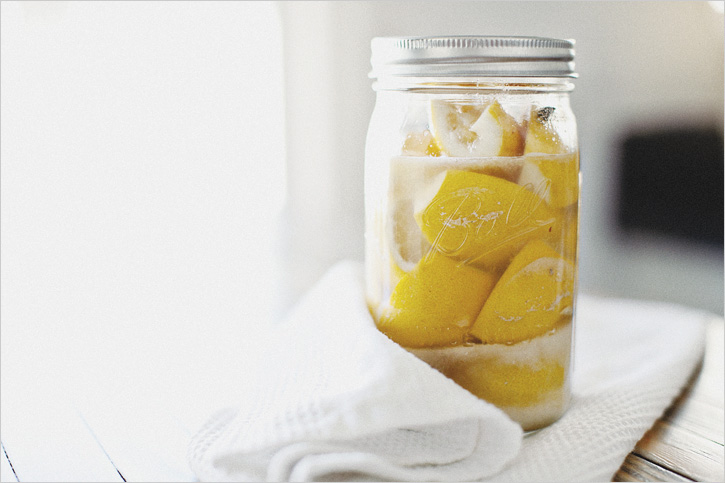
To use, rinse the lemon of it's salty brine, and scoop away the flesh. Use the preserved peels to put on fish, in grain salads or on top of a panna cotta.
